Free Download For Win & Mac | 100% Clean & Secure
Motion Blur Effect
When implementing a zoom-in effect, moving the screen, and shifting the mouse cursor in your recordings, you have the option to activate motion blur effects. These effects can enhance the visual appeal and smoothness of transitions, adding a dynamic and polished look to your content. By enabling motion blur in conjunction with these actions, you can create more engaging and professional-looking videos that captivate viewers with fluid movements and transitions.
Part 1. What Is Motion Blur Effect?
The motion blur effect is a visual technique commonly used in photography, cinematography, and video games to simulate the appearance of rapid movement or camera panning. In this effect, the subject appears blurred along the direction of motion, creating a sense of speed and dynamism. By adjusting the shutter speed, panning the camera, or applying post-processing, the degree and direction of the blur can be controlled, thus highlighting the sense of movement in the subject and providing the audience with a stronger visual impact and immersive experience.
The FocuSee app provides 3 motion blur effects that are automatically applied to your videos without the need for a camera or other professional software – you only need to record your video by using FocuSee.
Part 2. How to Set Motion Blur Effect?
Step 1. Enter the Recording Editing Interface of FocuSee.
Once the recording process is completed, you will enter the recording editing interface of FocuSee.
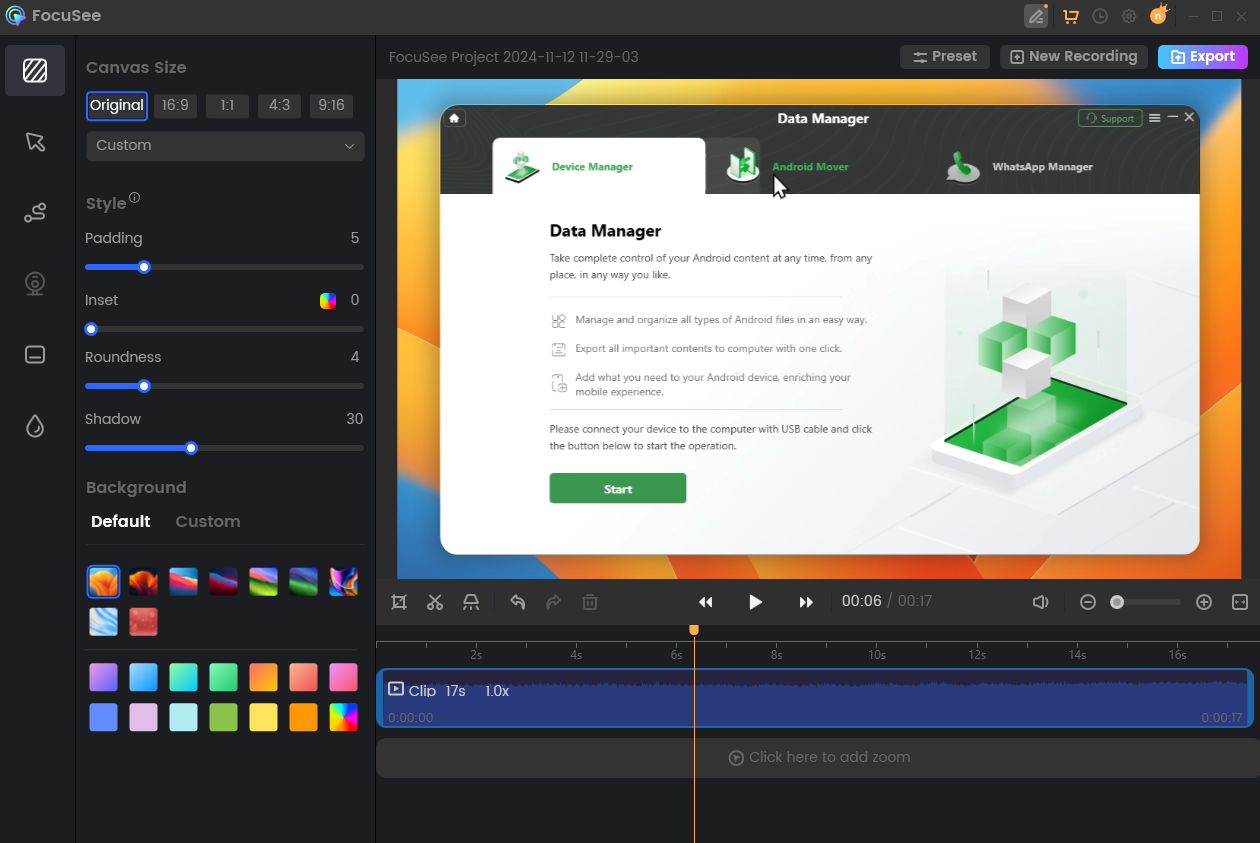
The Recording Editing Interface of FocuSee
Step 2. Click Animations Button.
Next, click the Animations button to enter the Motion Blur Effect interface. FocuSee provides three types of motion blur effects.
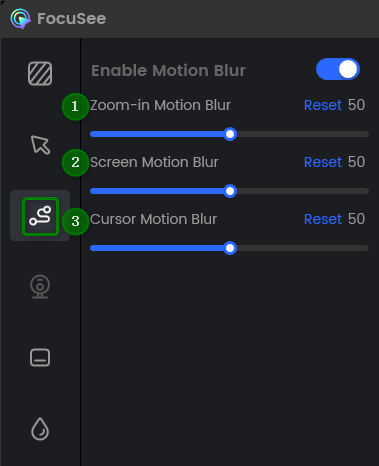
Click Animations Button
If you enable the motion blur effect, but you're not satisfied with the result, you can also customize the degree of the motion blur effect in the settings.
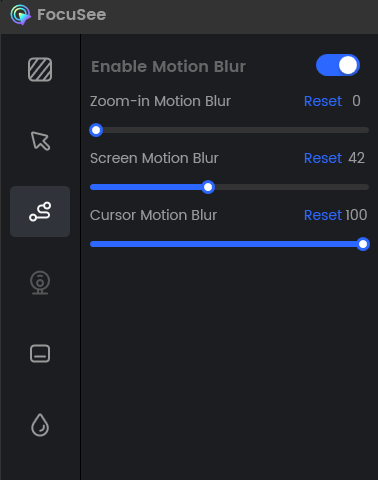
Customize the Degree of Motion Blur Effect
If you do not want the motion blur effect to appear in your videos, you can turn it off with a single click. After that, the interface below will be displayed.
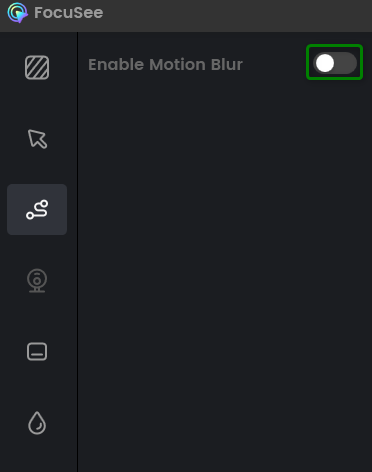
Turn off Motion Blur Effect
1. The motion blur effect is automatically enabled and will be applied to the videos you record.
2. The degree of motion blur effect is automatically set as fifty. To restore the degree to the original defaults, simply click on the Reset button.
Step 3. Set Cursor Movement
In addition to adjusting the motion blur effect, you can set the speed of cursor movement. FocuSee provides 4 movement types, including Slow, Medium, Fast and Rapid. You can choose the one you like with a simple click.
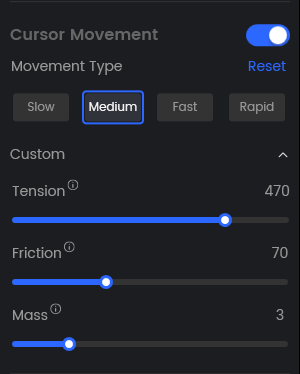
Choose Movement Type
If you enable the cursor movement, but you're not satisfied with the result, you can also click Custom button to customize the cursor movement as you like.
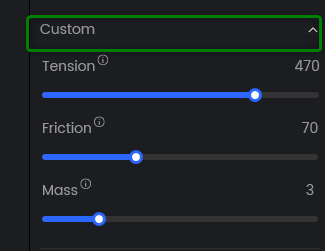
Click Custom Button
After that, you can adjust the degree of Tension, Friction and Mass.
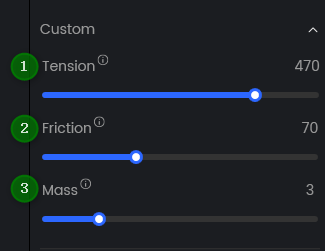
Adjust the Degrees
If you do not want the cursor movement to appear in your videos, you can turn it off with a single click. After that, the interface below will be displayed.
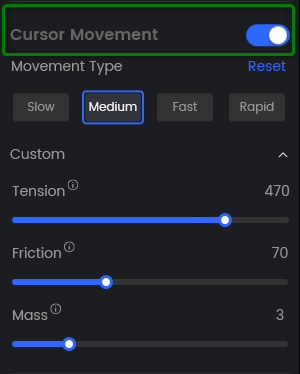
Turn off Cursor Movement
1. The cursor movement is automatically enabled and will be applied to the videos you record.
2. The speed of cursor movement will be set to Medium by default.
3. To restore the degree to the original defaults, simply click on the Reset button.
4. If there is a discrepancy between the actual cursor position and the operation displayed on the screen, you can turn off the cursor movement to increase the accuracy of the cursor display.
Step 4. Set Zoom & Pan.
Additionally, you can also set the speed of zoom and pan. FocuSee provides 4 movement types, including Slow, Medium, Fast and Rapid. You can choose the one you like with a simple click.
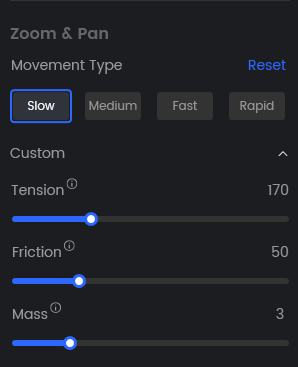
Choose Movement Type
If you're not satisfied with the result, you can also click Custom button to customize the zoom and pan as you like.
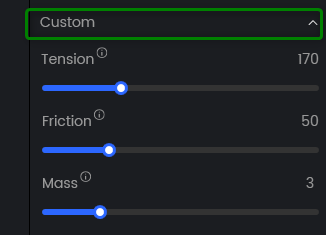
Click Custom Button
After that, you can adjust the degree of Tension, Friction and Mass.
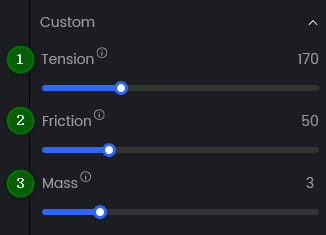
Adjust the Degrees
1. The speed of zoom and pan will be set to Slow by default.
2. To restore the degree to the original defaults, simply click on the Reset button.
3. FocuSee leverages Newton's laws of motion to compute animations, allowing for customized manipulation of tension, friction, and mass factors that regulate movement speed, thus enabling users to alter animation effects dynamically.
4. If you have further questions after reading this guide, please refer to FAQs page to check more solutions. Or you can contact our Support Team to get further help. We are here to help you!

Try It Out & Share Your Feedback!

We'd love to hear how FocuSee is working for you.
Give it a try and share your thoughts—your feedback helps us keep improving.
If you're enjoying FocuSee, we'd be so grateful if you could leave us a review on Trustpilot. Your support helps others discover FocuSee and motivates our team!
Thank you for being part of the iMobie community — we couldn’t do it without you!
Try It Out & Share Your Feedback!

We'd love to hear how FocuSee is working for you.
Give it a try and share your thoughts—your feedback helps us keep improving.
If you're enjoying FocuSee, we'd be so grateful if you could leave us a review on Trustpilot. Your support helps others discover FocuSee and motivates our team!
Thank you for being part of the iMobie community — we couldn’t do it without you!