Best Way to Record Tutorial Videos with the Right Tools & Tips

If you think about spending an hour explaining a process to someone and then having them review most of the information, it sounds annoying. This is a common problem that educators, trainers, and instructional designers frequently encounter when explaining a procedure step-by-step. That’s the point where tutorial videos become the solution. They incorporate pictures and words, and even the most complicated ones become easy for the users to grasp.
We are going to walk you through the best way to create tutorial videos, i.e., the entire process from the first step, which is preparation, to choosing and using the right equipment, and providing professional tips. The videos you will make will not only be easy to follow but also visually appealing and of high quality. Now, we will learn how to accomplish this most efficiently and easily.
What Is a Tutorial Video?
A tutorial video is one form of instructional material that instructs people on how to perform a task or learn a procedure. It is a combination of images, sounds, and even words to teach the students step by step, which is more convenient than written instructions on paper. They aid in breaking down complex subjects into manageable steps, making them easier to understand and remember. Some characteristics of tutorial videos are as follows:
- Explains how a process or task is to be performed.
- Merges images, words, and sometimes text to be meaningful.
- Breaks down complex steps into simpler-to-follow and comprehend form.
- Used widely in education, commerce, and the creative industries.
- Enables the audience to learn at their convenience.
- Improves retention compared to unadorned text instructions.
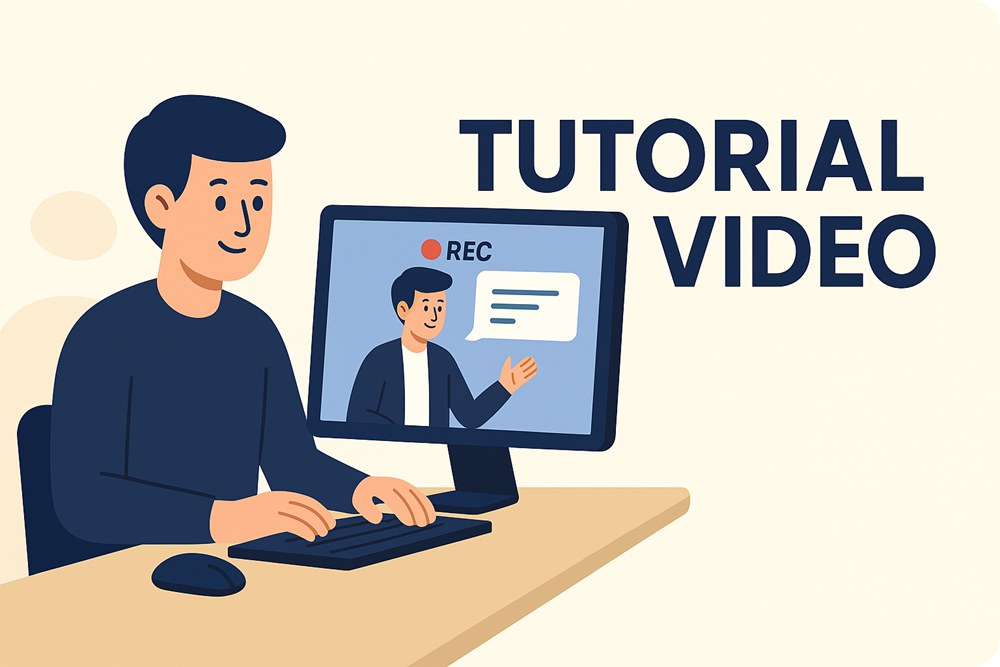
Tutorial Video
How to Record a Tutorial Video
Here are the step-by-step guidelines to help you plan, record, and polish your tutorial video so it’s easy for viewers to follow and learn from:
Step 1. Arrange Your Tutorial Content
Once you’re ready to begin recording, choose the central topic and jot down all the central points or steps. Consider the age, interests, and requirements of your audience to ensure the video addresses them personally. A basic brainstorming chart will keep your ideas straight and help you avoid missing something critical.
Step 2. Create a Visual Flow
Organize your ideas into a coherent sequence that your viewers can follow. You can create a storyboard with sketches of each scene, brief captions, and timing indications. It will help you visualize what your video tutorial will be like before you record it.
Step 3. Make a Simple Script
A brief script for your tutorial will help keep you on track. Include a short introduction section, step-by-step instructions, and a brief conclusion. Use plain language, don’t skip steps, and indicate where you’ll need visual aids, text, or images to show on the screen.
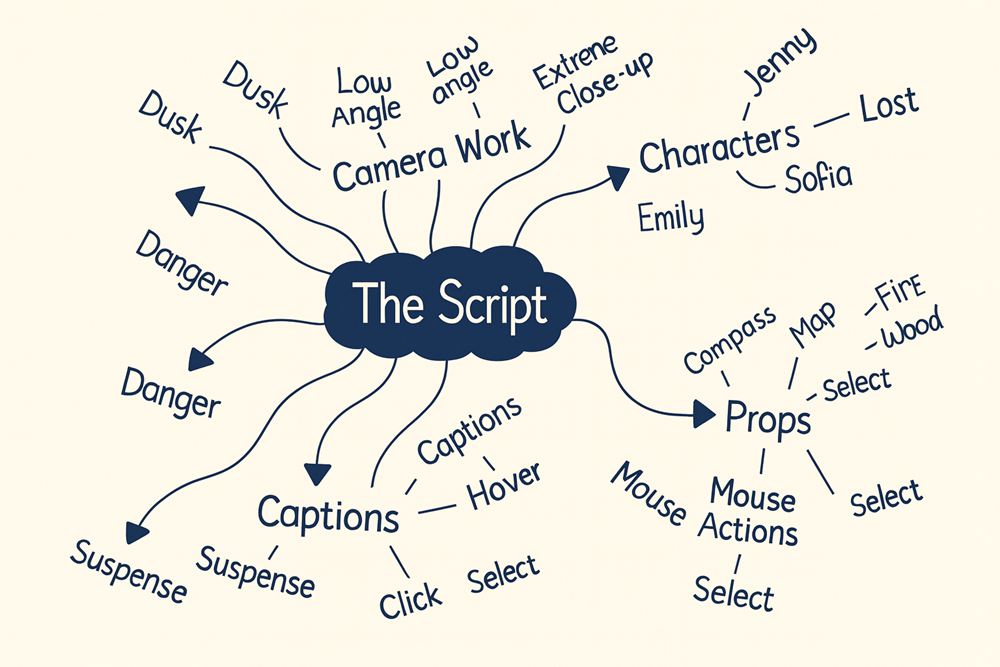
Script Brainstorming
Step 4. Rehearsal before Recording
Put your rehearsal in front of the camera to get a good feel for yourself. The more you practice enunciating your words clearly, looking straight at the camera, and using inviting body language, the more you will become, and your audience will be able to follow you with ease.
Step 5. Set Up Your Equipment and Workspace
Select a location for your subject that is either a simple setting with a plain background or a place outdoors in the sunlight. Check that your microphone and camera are properly set and position the camera to leave room for on-screen information or images. Planning avoids time loss during the recording.
Set Up Your Equipment and Workspace
Step 6. Record with Purpose
Video in landscape mode on most platforms, like YouTube. If possible, film in multiple takes and capture some extra footage to add to the tutorial. Film the voice-overs separately to achieve higher-quality voice-overs and simplify synchronization in post-production.
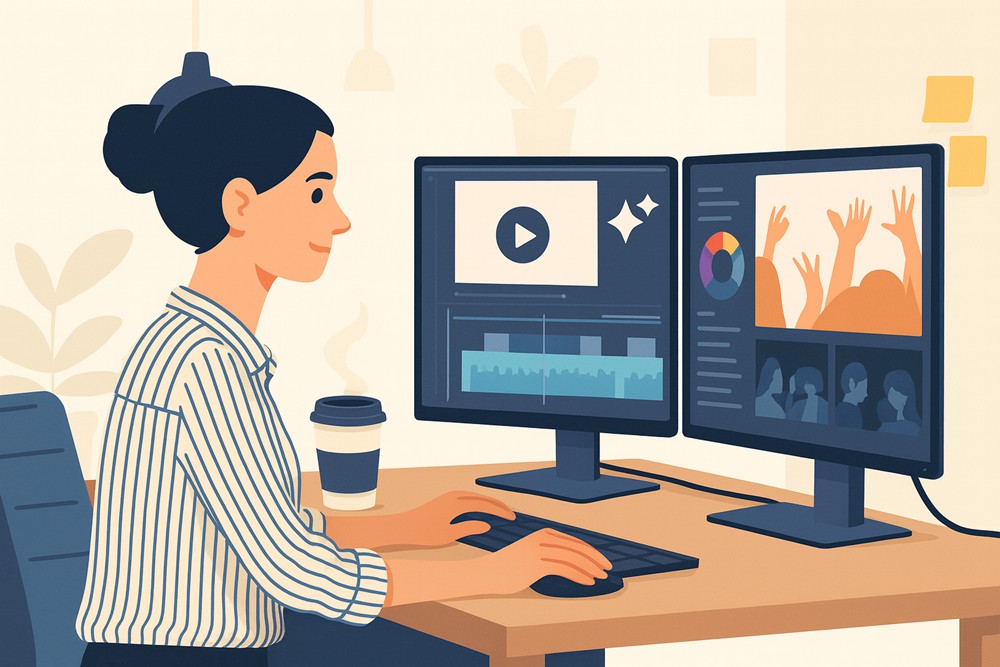
Step 7. Edit for Clarity and Interest
Remove errors and delays. Add text to highlight steps, subtitles for accessibility, zoom-ins for close-up shots, and background music or sound effects if required. Make it concise so the viewer understands each step without ambiguity.
Step 8. Share and Repurpose Your Video
Publish on channels like YouTube or Vimeo using a compelling thumbnail. Release shortened versions on social media to introduce viewers to the full video tutorial. Repurpose your work creatively so that it reaches even more people and contributes greater value over time.
Best Tools for Recording Step-by-Step Tutorial Video
High-quality tutorial videos require more than just good presentation skills; they also depend on the tools you use. To help you deliver polished, easy-to-follow content, here are some of the best tutorial video makers for recording tutorials:
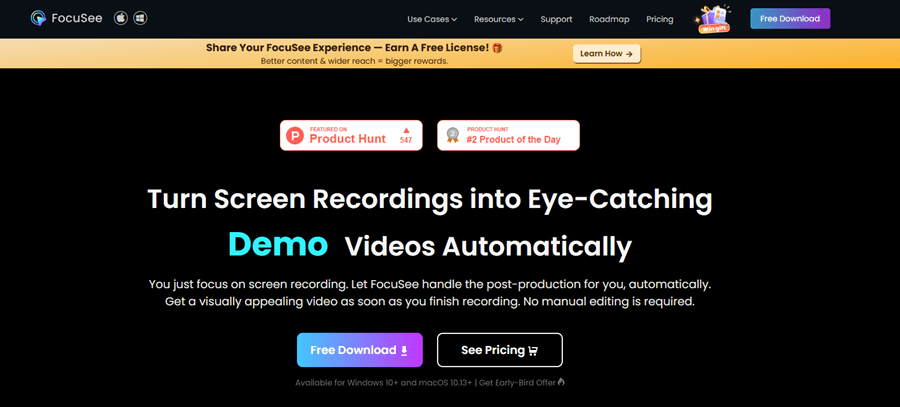
FocuSee
FocuSee
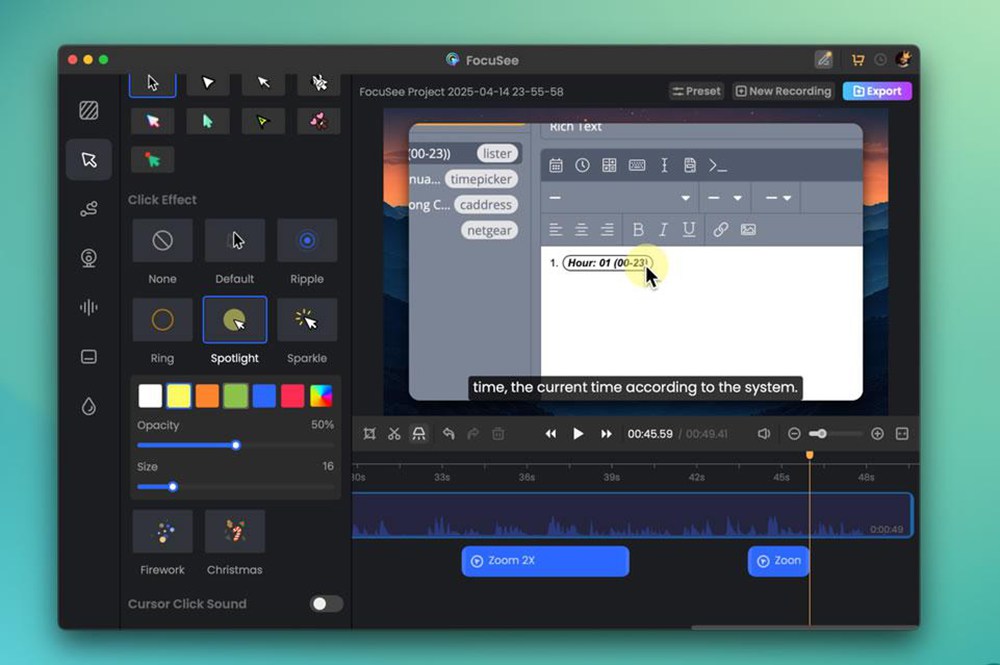
FocuSee is smart and easy-to-use software to capture excellent tutorial videos on PC and Mac. Auto-zoom function follows your mouse in real-time, keeping the focus of your audience on the most critical actions. You can customize the look using different mouse effects and click effects to emphasize interactions. The built-in teleprompter helps you read your script naturally as you speak.
Automatic captions are available in real-time integrated mode, making videos accessible to a wider audience. Camera layouts available help you personalize your recording style. Add a professional touch using clean backgrounds or motion blur. FocuSee also lets you trim, adjust speed, and add watermarks for a polished final product. Finally, its 4K recording quality ensures every detail of your tutorial is sharp and clear for your viewers.
Key Features:
- Auto-zooms on important clicks to keep your tutorial clear.
- You can change mouse styles and clicks for better viewer understanding.
- The built-in teleprompter helps you explain steps without forgetting lines.
- Automatic captions make videos easier to follow for all viewers.
- Adding your watermark protects your video and builds your brand.
Wondershare DemoCreator
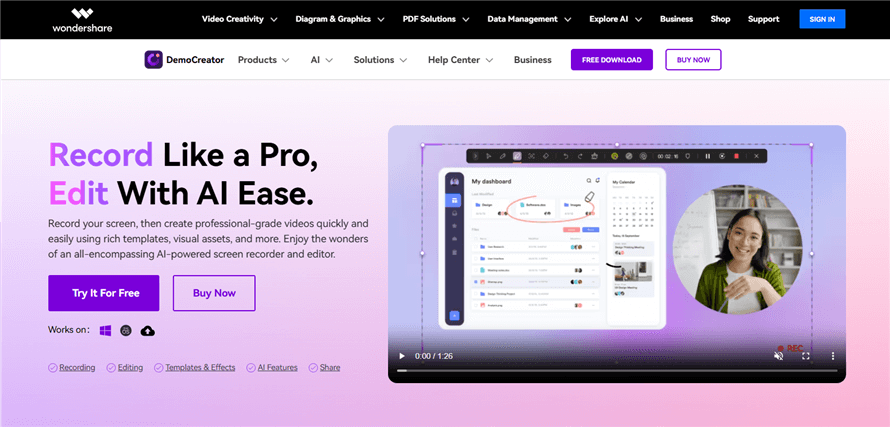
Democreator
Wondershare DemoCreator is an easy-to-use and highly effective tool for screen recording and video editing. The main idea is that one can create professional tutorial videos, presentations, and demos without spending a lot of time.
The application offers various recording options, including Screen Recorder, Game Recorder, Webcam Recorder, Virtual Avatar Recorder, and Video Presentation. Moreover, it allows for high-resolution recording, i.e., 4K/8K at 120 fps, as well as multi-track recording, along with AI-based features such as AI Teleprompter and AI Voice Cleaner.
Key Features:
- Includes scheduling tools to automate recording setups in advance.
- Cloud integration allows secure sharing with privacy controls.
- Packed with visual assets and templates for creative video editing.
- Supports AI-driven tasks like transcripts, subtitles, thumbnails, and music creation.
Cursorful
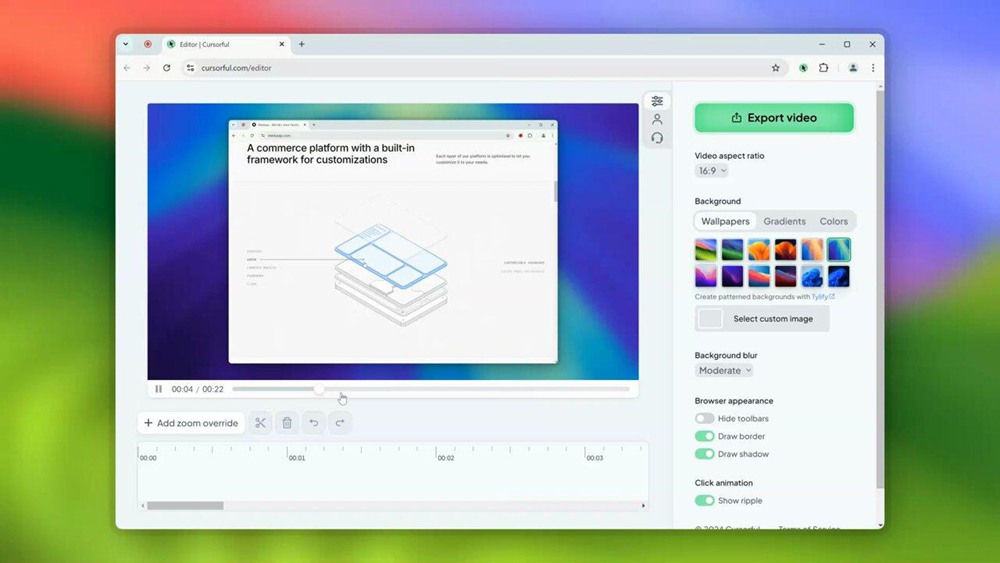
Cursorful
Cursorful is a smart browser extension that helps create clean, engaging tutorial videos. It’s an automatic pan and zoom based on your clicks. It guides the viewer’s focus with a smooth transition across the screen. You can control zoom location, depth, and duration with precision, choose or upload custom backgrounds, hide browser toolbars, and export in multiple aspect ratios.
It runs on Chrome, Edge, and Brave for Windows, macOS, and Linux, offering a distraction-free and seamless recording experience.
Key Features:
- Automatically zooms and pans highlight cursor actions.
- Easy editing of zoom placement, depth, and timing.
- Let’s pick presets or upload custom backgrounds.
- Hides toolbars and browser clutter with one click.
- Exports videos in vertical and horizontal ratios.
Camtasia
Camtasia, developed by TechSmith, is a full-screen recording and video editing software for Windows and macOS. It captures your screen, webcam, microphone, system sound, and cursor movements with accuracy.
It captures at high resolution, 4K, at 60 fps. Its editor is drag-and-drop simple with custom themes, templates, transitions, animations, and AI features like AI script writing, background removal, and AI voice.
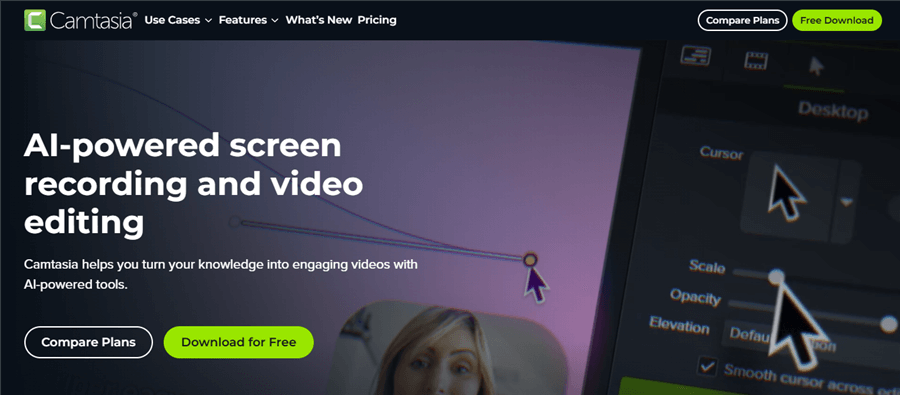
Camtasia
Key Features:
- Cursor effects like highlight, path editing, and scaling
- Dynamic captions add subtitles that sync automatically
- SmartFocus adds automatic zoom and pan to screen recordings
- AI Noise Removal cleans up audio to remove unwanted background sounds
OBS Studio
OBS Studio (Open Broadcaster Software) is a free, open-source, and efficient screen recording and live streaming application compatible with Windows, macOS, and Linux operating systems. It comprises real-time video/audio recording and mixing, which enables you to mix multiple sources, such as displays, webcams, images, and browser windows, into personalized scenes with smooth scene transitions. You get a flexible audio mixer with features such as noise suppression and gain control.
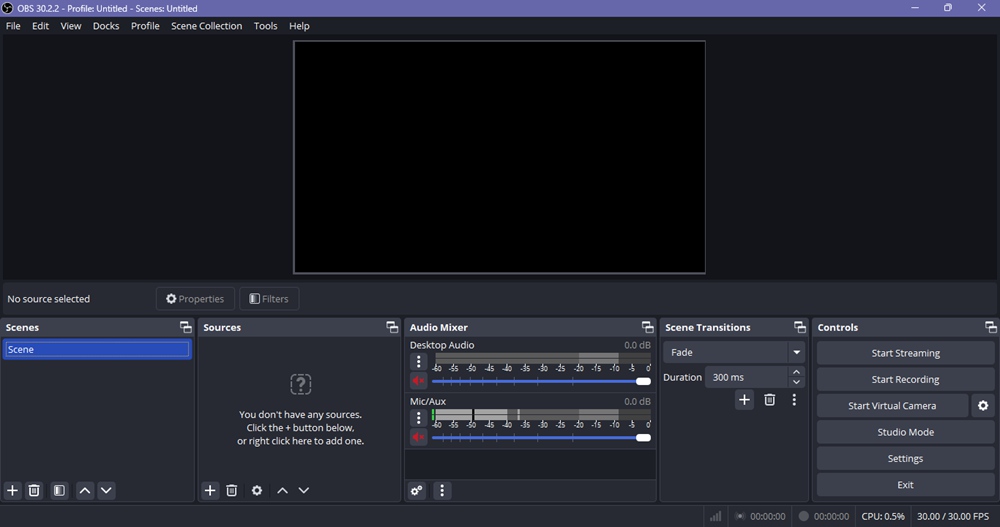
OBS
Key Features:
- Local recording saves videos directly to your device
- Virtual Camera mode turns your scene setup into a webcam feed
- Highly configurable settings panel for recording and streaming setups
- Plugin support extends capabilities like replay, filters, and transitions
Best way to record tutorial videos with FocuSee
FocuSee provides everything you need to make tutorial videos look professional. In this section, we’ll explore the best way to record tutorials step by step.
Step 1. Download and install FocuSee
Go to the FocuSee official website to download the latest installer. FocuSee is available for Windows or macOS. Once the download is complete, double-click the installer and follow the on-screen instructions to finish the installation.
FocuSee Official Website
Step 2. Get ready to record
Set up your Camera and Microphone by choosing the webcam, mic, and system audio, and select one of the three recording modes in FocuSee. Click the icon to start.
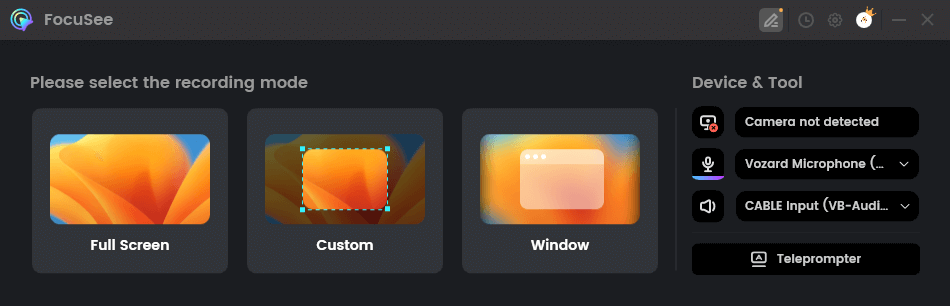
Camera, Microphone, and Mode Selection
Step 3. Press REC to start
Once you’ve finished setting up, simply press the red REC button to start. Double-check that your audio and camera are working as expected. Before recording begins, FocuSee gives you a 3-second countdown so you have time to prepare.
Begin Recording with FocuSee
Step 4. Customize your tutorial
After finishing the recording, FocuSee automatically generates the video and applies zoom animations that highlight important on-screen interactions. You can further customize your video by altering the background, clipping, and adjusting the video’s aspect ratio.
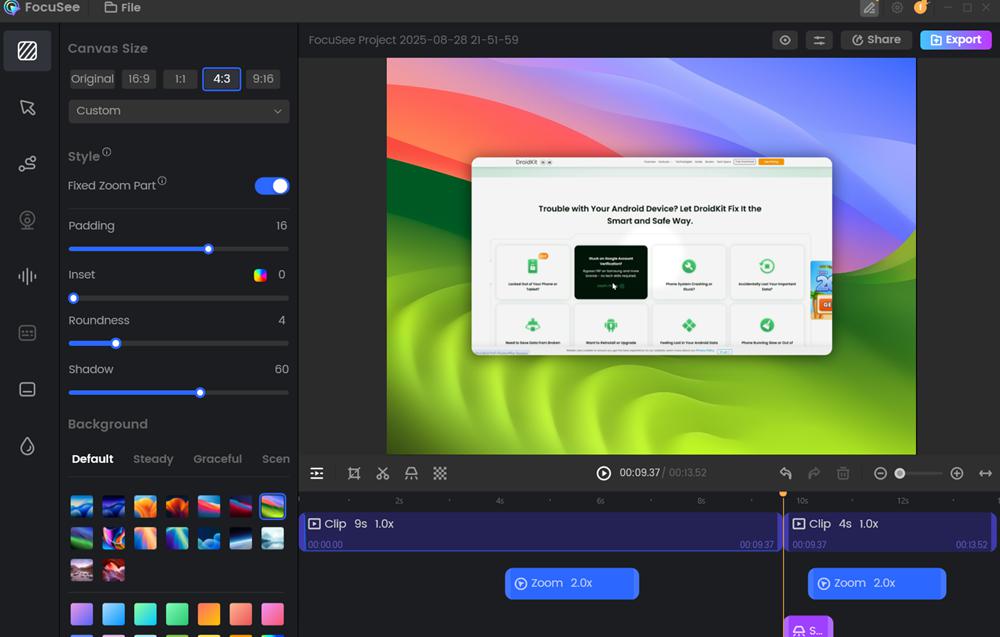
Edit and Enhance Your Video
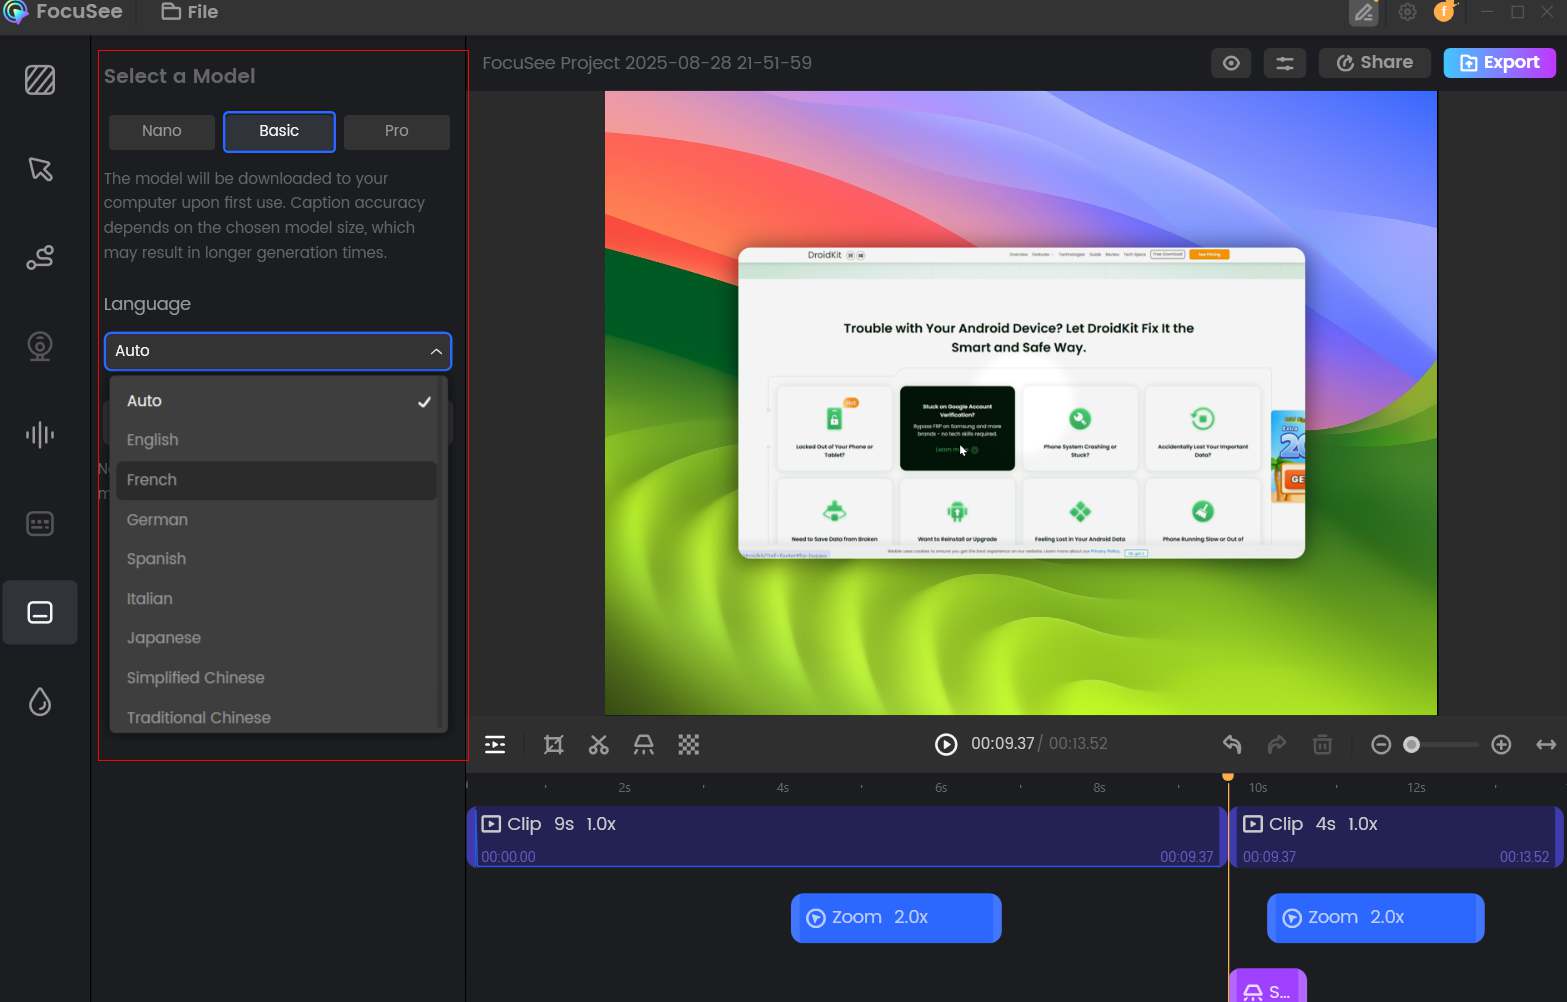
Step 5. Generate caption
Use the Caption feature to automatically generate subtitles for your video. This improves accessibility and makes your content easier to understand. And you can edit them as needed to ensure 100% accuracy.
Step 8. Secure online sharing
When everything looks good, click the Share button. FocuSee will generate an online link that you can share freely with your audience. For added security, you can also set a password on the link, ensuring that only authorized viewers can access your video.

Share Your Tutorial
Tips for Recording Tutorial Videos
If you want your tutorial videos to look polished and capture your audience’s attention, it’s important to focus on both preparation and presentation. Below are some valuable tips to guide you through the process:
- Record It Beforehand: Write in advance what you are going to say and do, then record it.
- Clean Your Screen: Close any useless tabs, windows, or applications.
- Quality Audio: Use a high-quality microphone and record a clear, audible voice.
- Strong Action: Use zoom, highlighting, or notes to emphasize.
- Speak Loud and Slowly: Do not read very fast, as all participants should be able to hear the instructions clearly.
- Add Captions for Accessibility: Add captions so that every audience, particularly those who are hard of hearing, can watch.
Final Words
An effective tutorial video will break down complex material clearly and engagingly, making it a pleasure to watch. By carefully planning your content, recording it effectively, and delivering it concisely and directly, you can create videos that benefit your audience. Practice and detailing go hand in hand with the tricks and tools.
FocuSee is a perfect option when you want the process to be speedier and less stressful. It enables you to create professional and high-quality tutorial videos by allowing you to crop, simple auto-zoom, and auto-captions.