How to Record a Meeting in Google Meet (On Desktop &Mobile Phone)

You have just entered a crucial online meeting with your team on Google Meet. People are sharing a lot of useful information, and you want to save everything to watch later. But you are not certain on how to record a meeting in Google Meet. You’re not alone!
Many people want to record their Google Meet meetings, and this simple guide is here to help. It will show you how to easily record a Google Meet meeting on a computer and a mobile phone. You’ll also learn why recording a meeting is useful. On top of that, we’ll suggest a helpful tool to make your recordings even better. So, let’s get started and make recording your Google Meet meetings super easy!
What are the Key Benefits of Recording a Meeting in Google Meet
Google Meet is a great tool for recording meetings because it allows you to save the most important things discussed. It makes it easier for you to recall, distribute, and go through the meeting session later. Below are the main advantages:
- Helps You Remember Important Points: You can watch the recording later to remember what was said. This is useful if you missed something during the meeting.
- Share With People Who Missed the Meeting: A recording of the meeting can also be a valuable way for individuals who missed it to catch up on what was discussed.
- Use for Training or Learning: Meetings can be recorded and then used as training sessions for other people, or the sessions can be listened to at a later time. This is not only time-efficient but also an effective way for new team members to absorb information and get up to speed with the team quickly.
- Keep a Record for Future Use: Recordings help keep a copy of everything that happened in the meeting. You can check it anytime if needed.
- Focus Better During the Meeting: When you know the meeting is being recorded, you don’t have to write everything down. You can focus on listening and talking instead.
- Supports Clear Communication: Recordings help clear up confusion. If someone forgets what was said, they can refer to the recording to gain a better understanding.
Record a Meeting in Google Meet on Desktop or Laptop
It is easy and helpful to record a meeting on Google Meet using a desktop or laptop. Let’s look at the ways to record a meeting in Google Meet on your desktop or laptop.
Google Meet built-in feature
Google Meet offers an in-built recording option that enables users to record their meetings easily on the platform. This option will enable you to capture video, audio, and shared screens during the meeting. It can be extremely helpful when you need to save vital discussions, presentations, or training materials.
The recording is stored in Google Drive, which can be easily accessed and shared. An automatic email notification with the recording link is also provided to you. It is safe, stable, and does not need any additional software. This in-built capability is ideal when one desires a simple and secure method of recording meetings on Google Meet.
For this:
Step 1. Open the Google Meet web page and log in using your Google account.
Step 2. To join or create a new meeting, click “New Meeting” or enter a meeting code.
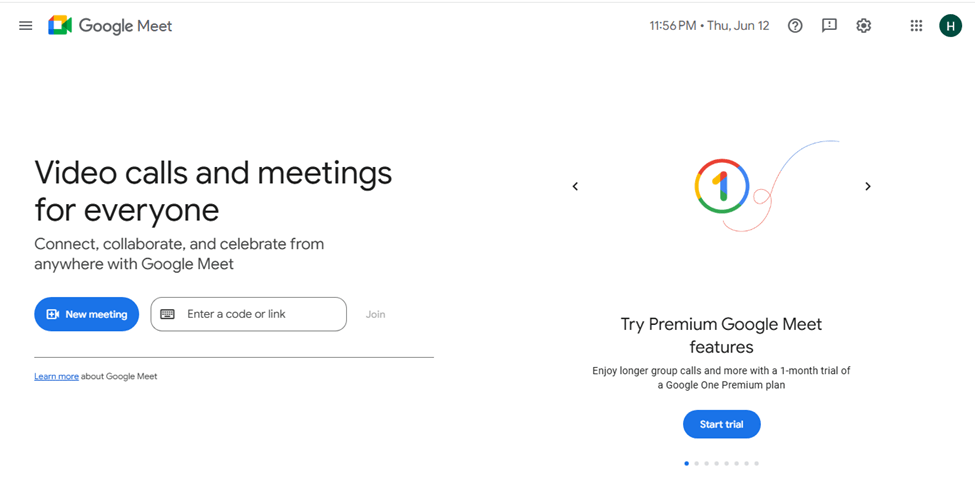
New Meeting
Step 3. Once inside the meeting, click on the “Activities” icon located in the bottom right corner (it resembles a small square with shapes).
Step 4. From the menu, select “Recording.”
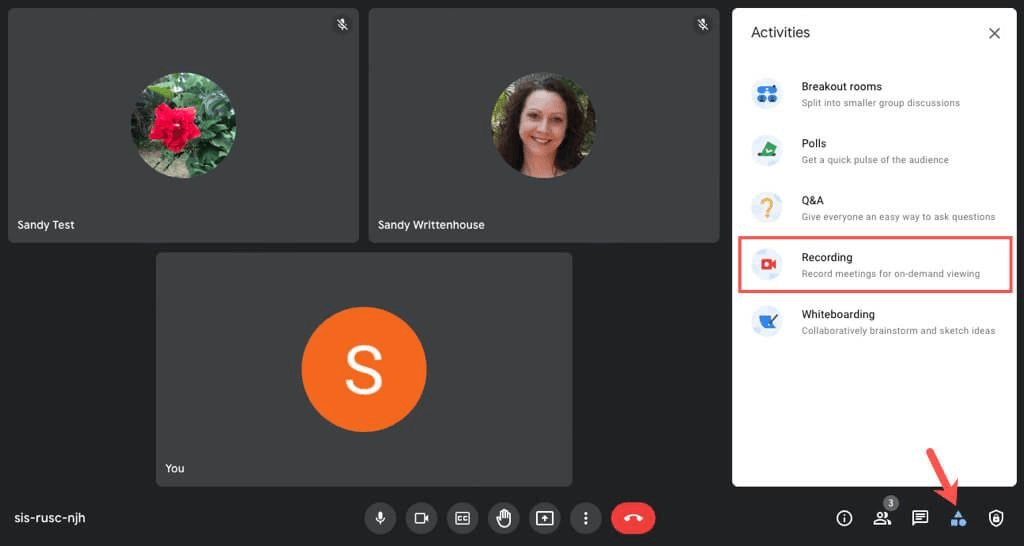
Select Recording
Step 5. Click “Start recording,” then confirm by clicking “Start” again when a prompt appears asking for participant consent.

Select Start
Step 6. A red “REC” icon will appear, showing the meeting is being recorded.
Step 7. To stop recording, click on “Activities” again, choose “Recording,” and then click “Stop recording.”
FocuSee [An All-in-one Screen Recorder]
FocuSee is a smart and simple tool for screen recording Google Meet meetings. It allows you to record eye-catching and clear videos without needing to edit them yourself. FocuSee not only records a video, but it also takes care of the effects, zooms, backgrounds, and even the captions without requiring any effort from you. Furthermore, it can simultaneously capture the screen, voice, and webcam, thus your voice and face will be recorded in addition to the screen.
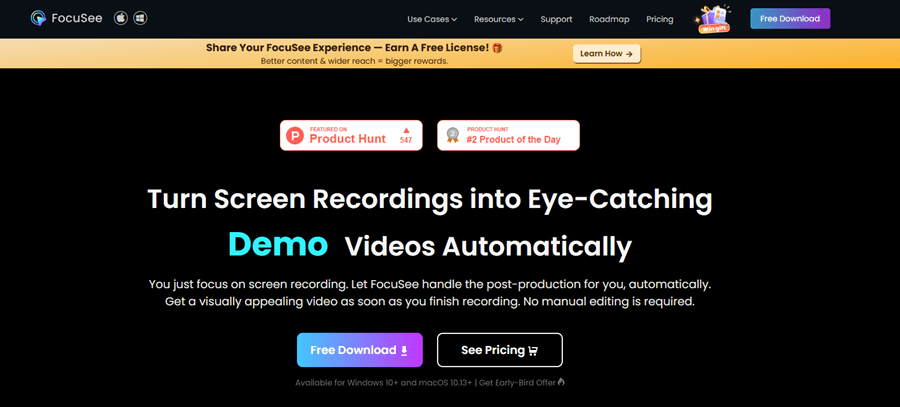
FocuSee Official Website
The teleprompter overlay enables you to read from your script when recording easily. You can even automatically add captions to your video, making it easy to comprehend. You can also cut or accelerate sections of your video, insert watermarks, and even switch around the layout of your screen and webcam feed. FocuSee enables you to render your video in high-end formats, such as 4K or GIFs, which are ideal for sharing on social media platforms. FocuSee can be used with both Windows and Mac, which saves considerable time and effort.
Key Features:
- Automatically edit your video right after recording, with no manual work required.
- Records screen, face, and voice together to make your video more complete.
- Adds smooth zoom effects to highlight important parts during your video presentation.
- Creates captions automatically to help viewers understand your message more easily.
- Lets you trim and speed up your video for a better viewing experience.
To use FocuSee for recording:
Step 1. Go to FocuSee’s website and download FocuSee. Make sure you have internet. After the file is downloaded, please open it and follow the steps to install it.
Step 2. Open the FocuSee app. On the main screen, select your camera, mic, and speaker from the options. Choose what part of your screen you want to record — full screen, one window, or a custom area.
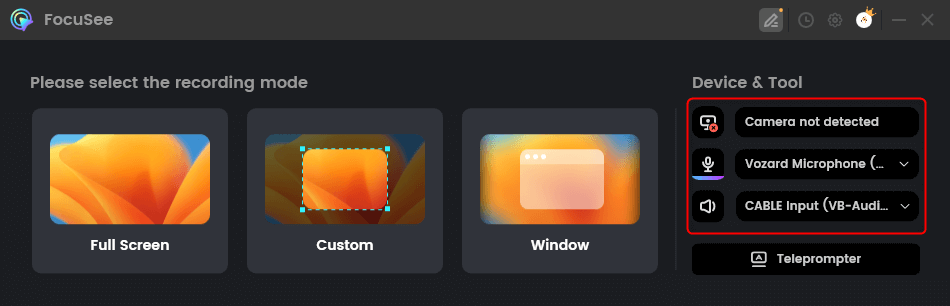
Choose From Options
Step 3. Check if your camera and audio settings are correct. When ready, click the red “Record” button to begin. You’ll see a 3-second timer before the recording starts. Get ready during this short countdown.
Step 4. To stop recording, press the red “Stop” button once you’re finished. Your video will be ready with auto effects. You can edit by trimming, adding zoom, or changing speed.
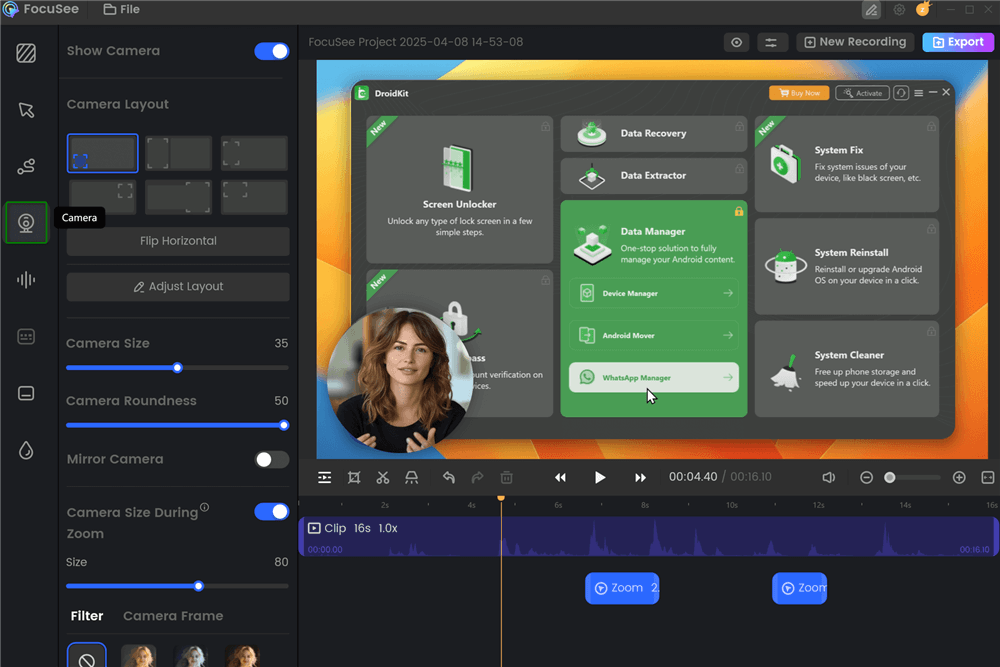
Change Camera Layout
Step 8. When your video looks good, click “Export” to save it as a video or GIF.
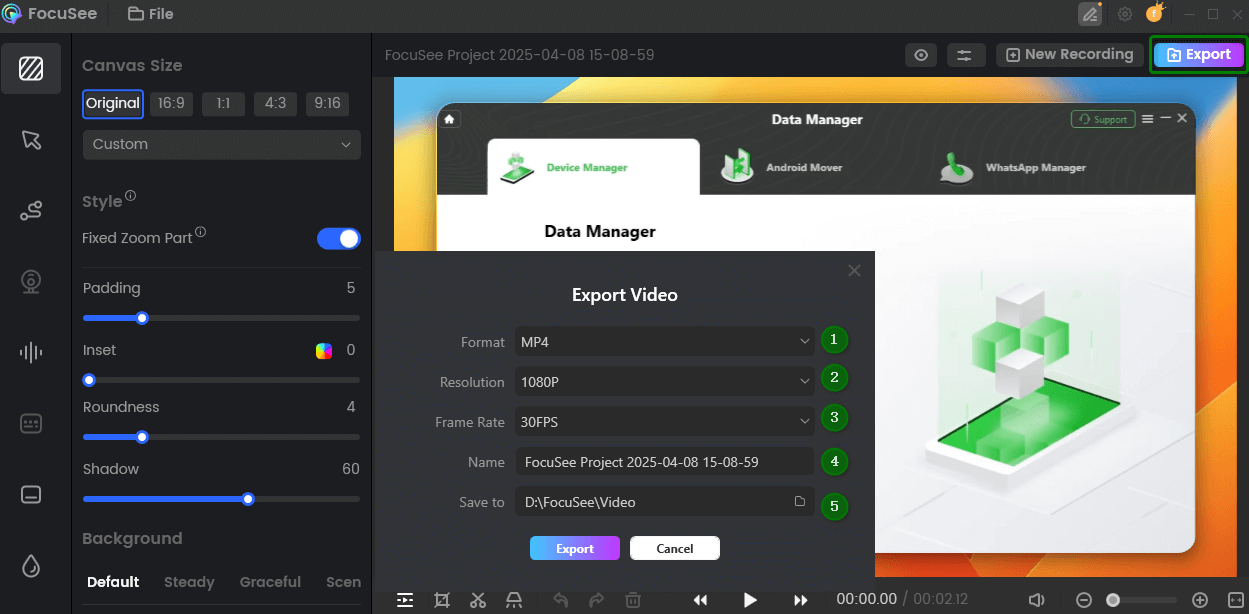
Export and Save Recording Video
Record a Meeting in Google Meet on a Mobile Phone
Recording a meeting in Google Meet on a mobile phone is easy using the built-in screen recorder. Both Android and iPhone offer this feature without needing extra apps. It allows you to capture video and audio from your meetings directly on your device. This helps save class lectures, team calls, or important discussions. To use your mobile for recording:
For Android Users:
Step 1: Swipe down to open the Quick Settings menu.
Step 2: Tap on “Screen Recorder.”
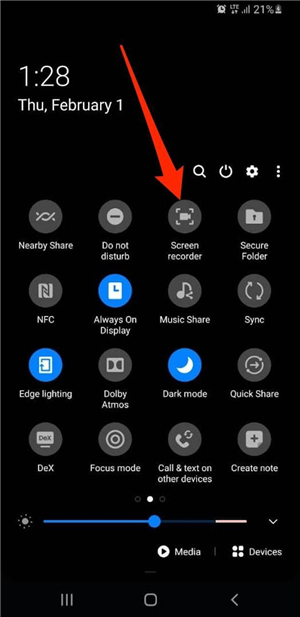
Tap Screen Recorder
Step 3: Choose your sound option (no sound, media, or media + mic).
Step 4: Tap “Start Recording.”
Step 5: To finish, swipe down again and tap “Stop.”
For iPhone Users:
Step 1: Swipe down from the top right to open the Control Center.
Step 2: Tap the “Record” button. A countdown will begin.
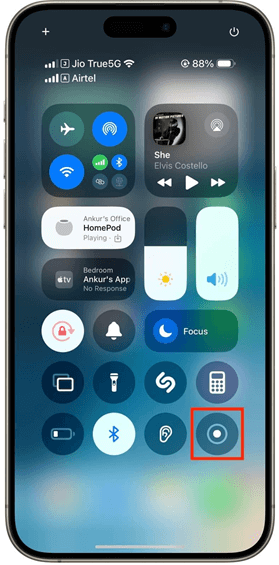
Tap Record
Step 3: Recording will start automatically.
Step 4: To stop, tap the red timer at the top, then tap “Stop.”
FAQs on Recording a Meeting in Google Meet
What do I do if I want to edit my recorded meeting easily?
You can use FocuSee to record your screen and get auto-edited videos. It includes highlights, zoom, captions, and layouts – great for use in tutorials or to share refined content quickly.
What do I need to install to record on Google Meet?
If you are using the built-in recording tool on a PC, no additional setup is required. Moreover, many phones offer a screen recorder option.
What is the turnaround time on the recorded video?
Once the meeting is over, it can take several minutes to process the video. When it is ready, you will be notified via email containing a link.
Final Words
Google Meet recordings are a clever way to document a meeting, track productive ideas, and later share them with others. On a desktop or mobile, you can take advantage of the built-in features of Google Meet or your device’s screen recorder to quickly and comfortably record meetings. Just remember to get permission from all participants before recording. For better results, try FocuSee. It adds automatic captions, applies smart zoom and cursor effects, and instantly edits your video—perfect for clear and engaging meeting replays.