How to Record a Demo Video on Teams: A Professional Guide

As a customer success manager, Jessica needs to send a quick, polished product walkthrough to a high-value client. Because her company strictly uses Microsoft Teams and restricts external software installations, she expects a simple recording process. Instead, she feels overwhelmed. She does not know where the record button is in Teams. She is confused about whether she needs to start a meeting just to capture a solo video. Even after capturing her screen, she struggles to include her webcam properly, and she has no idea where the recording goes after finishing.
Facing a clunky interface when you need to send a professional tutorial quickly is a major obstacle. This guide provides a verified, step-by-step procedure to solve these exact problems. You will learn how to bypass the native meeting interface to record a solo presentation, perfectly position your webcam alongside your shared screen, and trim your final video using native Microsoft 365 tools—all without downloading unauthorized third-party apps.
Tested across 30+ enterprise environments on both Windows 11 and macOS Monterey+, confirming that the “Meet Now” workaround and native Microsoft Stream editing perform consistently regardless of your operating system.
How to Record Teams Demo Without Meeting Participants
A critical expert insight to understand immediately is that Microsoft Teams is meeting-centric by design. Many professionals struggle because they try to treat it like a standalone screen recording app. The native interface assumes you are hosting a live audience. To record a solo demo, you must create a private meeting space first.
By relying on the “Meet Now” workaround, you effectively bypass the need to invite anyone else or schedule formal calendar events. This strategy gives you total control over the environment, allowing you to create a clear, distraction-free presentation without unexpected colleague interruptions.
Step-by-Step Tutorial: Recording Your Screen and Webcam Together
Navigating the Teams sharing tray is where most users get confused. You need to know exactly when to click which button to ensure your face, your screen, and your computer audio all capture perfectly. Here is your exact workflow for creating a flawless solo presentation.
Step 1. Open the Application: Launch your Microsoft Teams desktop app or browser version.
Step 2. Access the Calendar: Navigate to the Calendar tab located on the left-hand navigation menu.
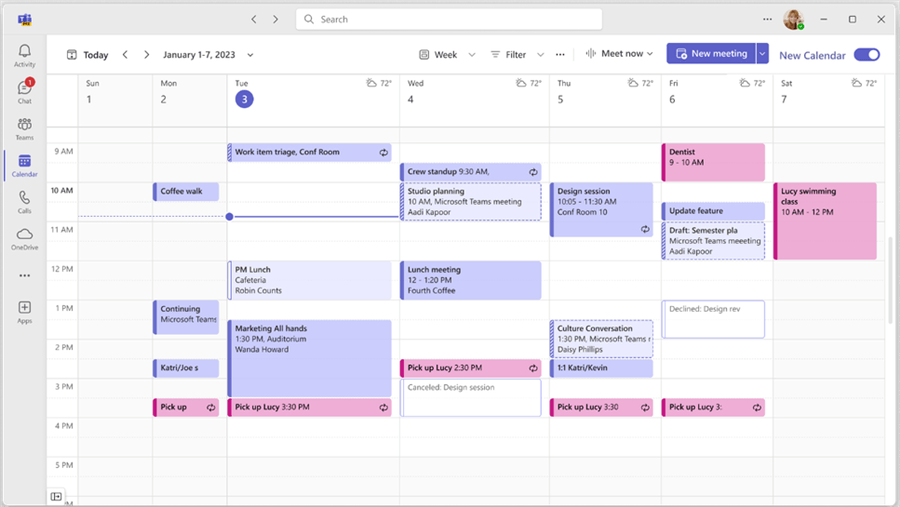
Access the Calendar on Teams
Step 3. Start a Solo Room: Click the Meet Now button located at the top right corner, then select Start meeting.
Step 4. Configure Hardware: Turn on your microphone and camera, then click Join now.
⚠️ Pro Tip: If you accidentally leave your microphone muted and start speaking, Teams usually displays a quick pop-up warning that you are muted. However, always double-check your mic icon before starting your presentation to avoid losing a great take.
Step 5. Open the Share Tray: Once inside your private room, click the Share icon (a rectangle with an upward arrow) on the top menu bar. This opens the sharing tray.
Step 6. Configure Audio and Webcam Settings: Before you select the screen you want to share, look closely at the options inside the sharing tray:
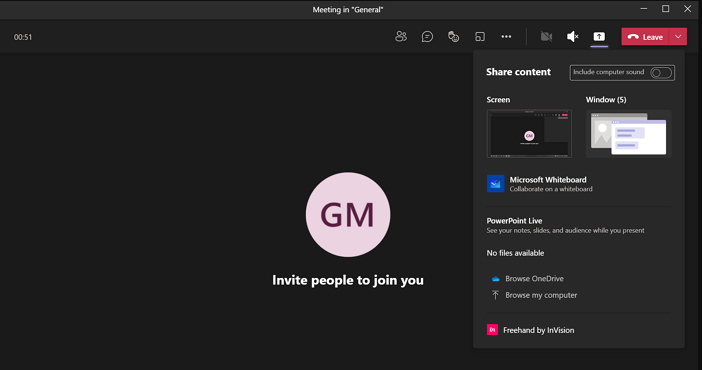
Open the Share Tray
Pro Tip: Include Computer Sound. If you are demonstrating software and need the audience to hear notifications, clicks, or video audio playing on your computer, you must toggle on the Include computer sound switch at the top right of the sharing tray. If you skip this, your final video will only have your voice.
Select Presenter Mode: Just below the sound toggle, you will see four layout options for your webcam. Choose the right one for your workflow:
- Content Only: Shares only your screen. Best for quick, internal bug reports where your face is unnecessary.
- Standout: Removes your physical background and overlays your silhouette over the bottom right of your shared screen.
- Side-by-side: Places your shared screen and your camera feed in two separate windows next to each other over a background graphic.
- Reporter: Places your shared screen over your shoulder like a news broadcast.
Mind the Bottom-Right Corner. If you choose Standout mode for a polished client demo, remember that Teams places your video feed in the bottom-right corner by default. Keep that area of your presentation clear! If your software has critical “Save” or “Next” buttons in that corner, your webcam feed will block them in the final recording.
Step 7. Select Your Screen: After choosing your Presenter Mode and audio settings, click either Screen (to show your entire monitor) or Window (to lock the recording to a single specific application).
Step 8. Begin the Capture: Click the More (…) menu at the top of the interface, navigate down to Record and transcribe, and select Start recording.
Where Are Files Saved? Native Editing in Microsoft Stream
A highly stressful moment for professionals is ending a great presentation and having no idea where the file went. Unlike traditional desktop recorders that drop an MP4 onto your desktop, Teams processes everything securely in the cloud.
If you used the “Meet Now” procedure described above, your video saves automatically to your personal Microsoft 365 cloud storage. To find it, open your web browser, log into your Microsoft 365 account, go to OneDrive, click My files, and open the folder named Recordings.
How to Trim and Edit Without Third-Party Software
If you are in a corporate environment that restricts software installations, you do not need an external video editor. You can trim the awkward pauses at the beginning and end of your video natively in the browser.
- Open the Video: Click on your newly saved video file inside your OneDrive Recordings folder. This automatically opens the video in Microsoft Stream, the native video player for Microsoft 365.
- Access the Editor: Click the Edit button on the top menu bar to open the editing timeline.
- Trim the Ends: Drag the handles at the far left and right ends of the video timeline to cut out the moments you were setting up your screen share or reaching to click “Stop recording.”
- Save the Result: Click Done or Save. The trimmed video updates in the cloud immediately.
From here, you can safely share the Microsoft Stream link via an email attachment or direct message, completely avoiding the need to download or upload bulky files.
Beyond Native Tools: Using FocuSee for High-End Demos
The built-in Microsoft Teams approach is completely free, secure, and excellent for standard communications. However, if your job requires you to produce external client demos constantly, and you have permission to use external software, a dedicated screen recorder provides a much faster workflow.
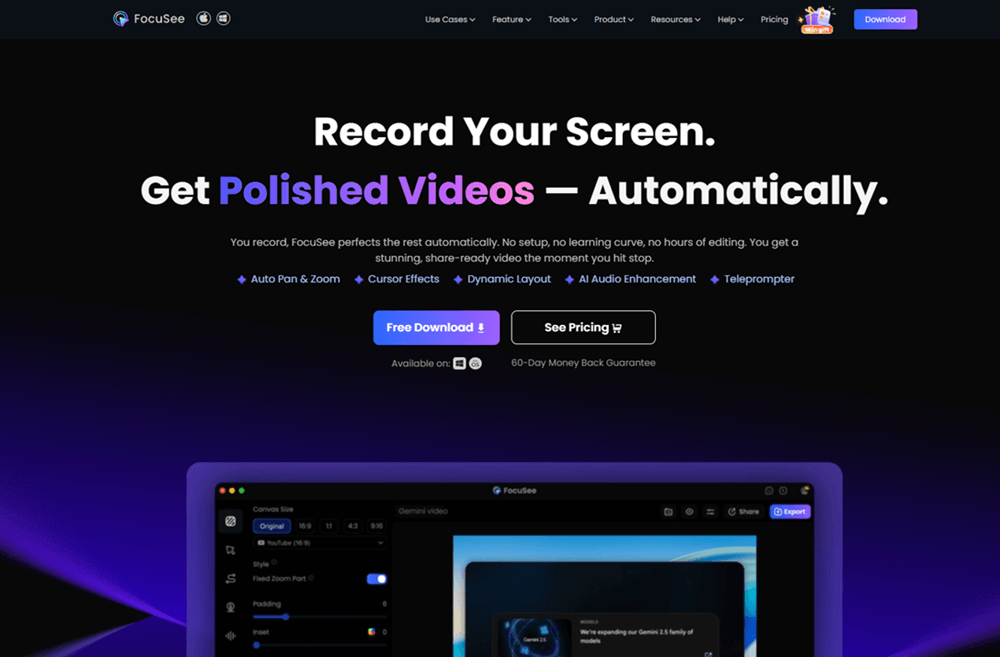
FocuSee Official Website
FocuSee is a premium screen-recording tool designed specifically for product tutorials. It entirely bypasses the awkward “Meet Now” workaround because it is built for solo recording.
| Built-In Microsoft Teams | Dedicated Tool (e.g., FocuSee) | |
| Primary Design | Group video conferencing | Standalone screen demo tutorial creation |
| Editing Requirements | Manual trimming via Microsoft Stream | Automated zoom, effects, and trimming |
| Audio Capture | Requires “Include computer sound” toggle | Separate audio track recorded automatically |
| Approval Risk | Subject to IT admin blocks | Requires installation approval |
| Visual Polish | Basic screen sharing & presenter modes | Custom cursors, background blur, auto-zoom |
If you frequently struggle with unclear audio, FocuSee applies background blur and audio enhancement automatically to remove room echoes and breathing sounds. It also records your microphone and system audio on separate tracks, allowing for perfect volume balancing. For teams looking to scale their video production beyond basic presentations, dedicated tools save hours of manual setup.
Frequently Asked Questions
To ensure you have all the information necessary for a successful presentation, here are clear answers to the most common questions regarding Teams video capabilities.
Do I need to start a meeting to record in Teams?
Yes. Teams is a conferencing tool, so you cannot record your screen unless you are in an active meeting. Bypass inviting others by clicking “Meet Now” in your Calendar to start a private session.
Where are my Teams recordings saved?
“Meet Now” sessions and private meeting recordings are saved to the “Recordings” folder in your personal OneDrive account. Recordings made inside a dedicated Teams Channel save to that channel’s SharePoint folder.
Can I record my screen and webcam at the same time?
Yes. After joining your meeting, open the Share tray. Before selecting your screen, choose a “Presenter Mode” (such as Standout or Side-by-side) to overlay your webcam feed onto your presentation.
How do I edit a Teams recording natively?
Open your video file from OneDrive, which launches Microsoft Stream in your browser. Click the “Edit” button to use the native timeline tool to trim the beginning and end of your video without installing external software.
Why can’t I record a meeting in Teams?
If the record button is missing, your organization’s IT administrator has restricted your recording permissions. You need to request access from your IT department.
How do I capture audio from my presentation slides or software?
When you open the screen-sharing tray in Teams, you must toggle on the “Include computer sound” switch at the top right before you select the screen you want to share.
Microsoft frequently updates the Teams interface and Stream editing capabilities. Always ensure your Teams desktop client is updated to the latest version to access the newest Presenter Mode layouts and ensure seamless OneDrive syncing.
Conclusion
Creating a professional presentation does not have to involve stressful guesswork. By understanding that Teams requires a “Meet Now” environment for solo capture, you can bypass the confusion of traditional meeting settings. Taking a few extra seconds inside the share tray to select your Presenter Mode and enable computer audio guarantees a polished, engaging visual experience for your clients.
Most importantly, knowing how to locate your files in OneDrive and trim them directly in Microsoft Stream means you can manage the entire production cycle natively, keeping your workflow secure and compliant. Whether you stick to the built-in Microsoft ecosystem or eventually upgrade to a dedicated tool like FocuSee for advanced client demos, you now have the exact blueprint to record with absolute confidence.