How to Make a Video Slideshow in 2025: A Simple Guide

You have a folder of cherished photos and an important event on the horizon—a wedding, a 50th anniversary, a memorial. You want to create a video slideshow that tells a meaningful story, but the thought of sifting through hundreds of pictures and learning complex software feels overwhelming. This is the most common hurdle, but you can overcome it.
This guide provides a clear, step-by-step process focused on creating a beautiful slideshow that plays perfectly on the big day.
This guide is based on 12+ hours of hands-on testing across Windows 11 and macOS, evaluating top video-slideshow tools for ease of use, output quality, and reliability—so non-technical users get practical, proven steps.
Step 0: How to Prepare Your Photos for a Slideshow
Before you touch any software, organizing your photos is the most important step. It prevents frustration and makes the entire creation process smoother. If your photos are in a messy folder, start here.
- Create a “Finals” Folder: Make a new, empty folder on your desktop and name it something like “Slideshow Finals.” This is where you will put only the best photos you select.
- Quickly Sort Your Photos: Open your main photo folder and view the images as large thumbnails. Go through them quickly and copy your favorites into your “Finals” folder. Don’t overthink it on the first pass; just pick the ones that stand out.
- Fix Rotated Images: In your “Finals” folder, quickly scan for any photos that are sideways. Most built-in photo viewers on Windows and Mac have a simple rotate button to fix these with one click.
- Handle Old or Blurry Photos: It’s okay to include a few low-quality scanned photos if they represent an important memory. When placed between sharper images and shown for only a few seconds, their quality issues will be less noticeable. If a photo is extremely blurry, consider leaving it out unless its emotional value is irreplaceable.
Taking 20 minutes to do this upfront will save you hours of searching and sorting inside the slideshow software.
Further Reading: How to Create a Video Presentation: A Beginner’s Guide >
Step 1: How to Perfectly Pace Your Photo Video Slideshow
With your best photos selected, the next step is planning the timing. This simple action prevents the most common slideshow failure: the music ending abruptly while photos are still playing in awkward silence.
Consider Maria, tasked with creating a 50th-anniversary video slide show with music for her parents. She chose their favorite four-minute song but had no idea how many photos to select from her “Finals” folder.
Here is the simple formula to sync photos to music and establish your base slide duration:
Total Seconds of Music ÷ Number of Photos = Seconds Per Photo
Maria’s 4-minute song is 240 seconds. If she wants to use 60 photos, the calculation is 240 ÷ 60 = 4. This gives her a target of 4 seconds per photo. A 3–5 second duration is generally ideal, allowing viewers to absorb each image without the pace feeling rushed or sluggish.
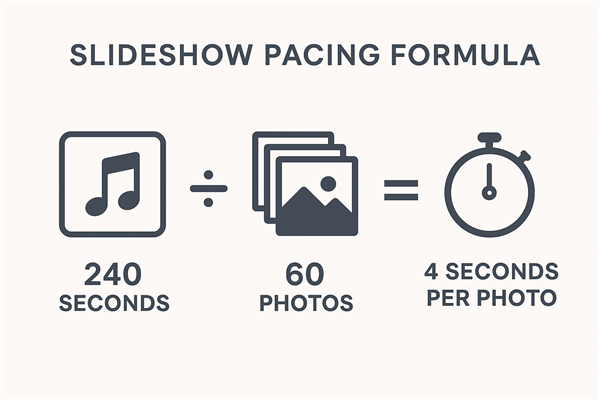
Slideshow Pacing Formula
With this number in mind, she can now curate her final 60 photos, knowing they will fit the music perfectly. This planning eliminates guesswork and extensive rework later, ensuring your photo montage has professional pacing from the start.
Choosing Your Tool: Free Built-in Apps vs. Dedicated Software
Selecting the right tool depends on your goals and timeline. For the best results, creating your slideshow on a computer is recommended over a phone. Your choice generally falls into two categories: free, built-in applications or more powerful dedicated software.
| Criteria | Free Built-in Tools (Photos, iMovie) | Dedicated Tools (e.g., FocuSee, Animoto) |
| Ease of Use | Moderate — requires manual tweaks | Excellent — simple drag-and-drop |
| Time to Create | Long — manual timing & effects | Fast — templates & smart automation |
| Final Quality | Good — basic transitions | Professional — polished templates |
| Watermark Risk | Low (OS tools) / High (free web tools) | None on paid plans — clean exports |
| Best For | Simple projects with time for manual edits | High-stakes events needing polished output |
Free Built-in Tools (Windows Clipchamp, Apple Photos/iMovie)
These tools are a good starting point as they are already installed and cost nothing. However, they can be limiting. Syncing music precisely often requires tedious manual edits, and options for professional effects like handling vertical photos or creating tasteful captions may be basic. The biggest risk with some free online tools is a distracting watermark on your final video.
Dedicated Slideshow Makers (Recommended)
A dedicated tool is engineered specifically to create a video slideshow from photos quickly and professionally. While they are paid, they solve the most common frustrations of free tools. Popular options like FocuSee, Animoto, or Movavi Slideshow Maker offer streamlined workflows, a wider selection of professional templates, and advanced features that deliver a higher-quality result with less effort.
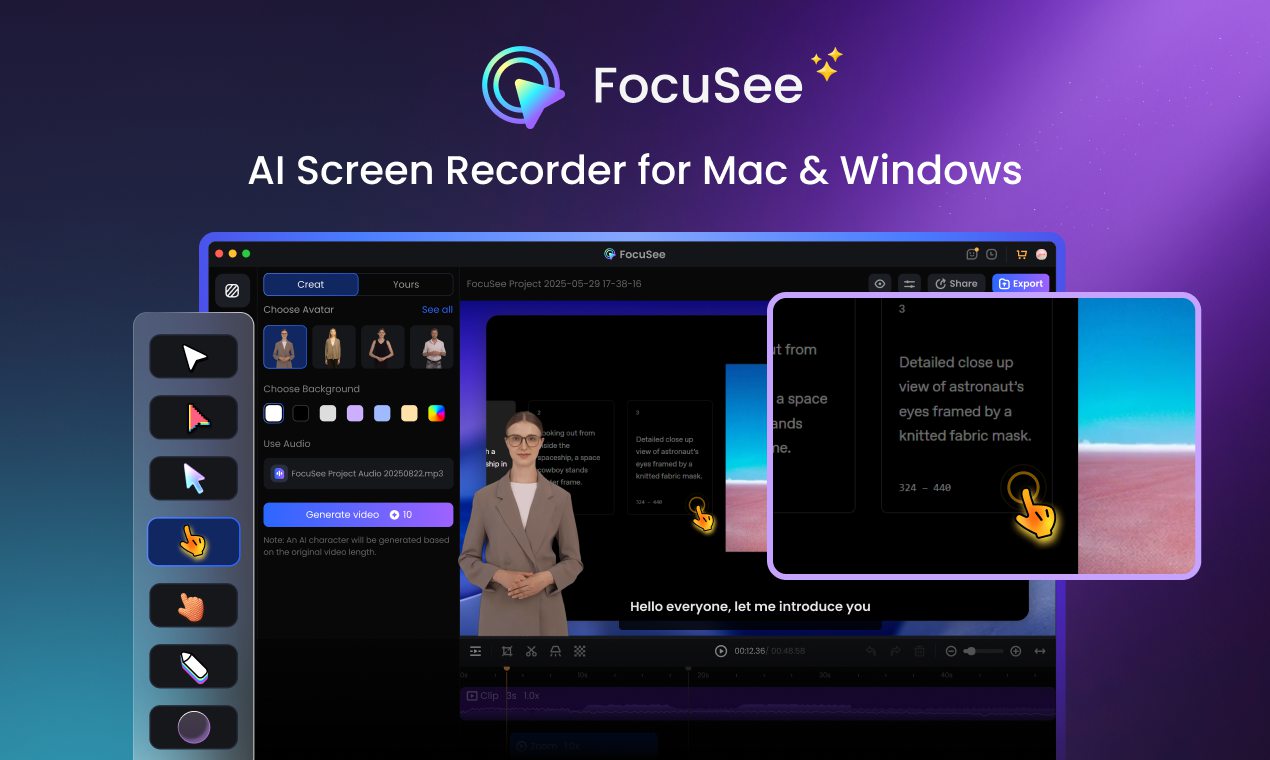
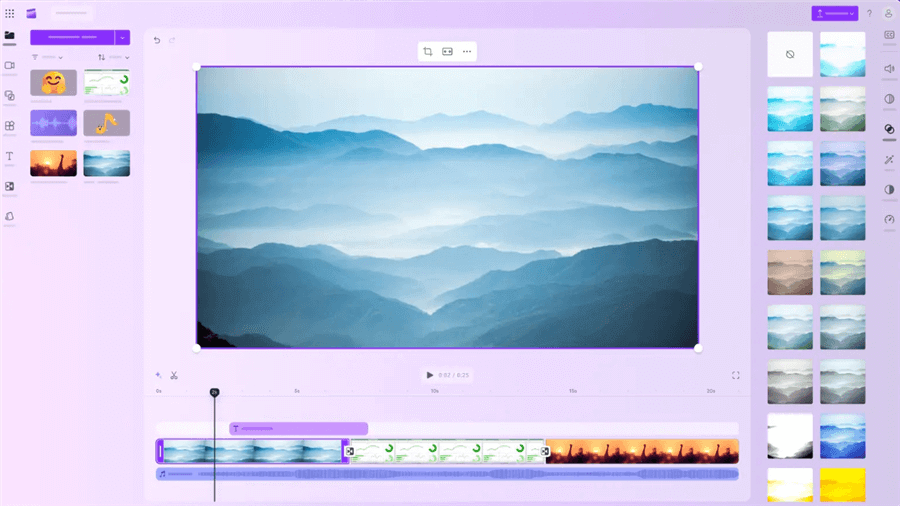
The Easiest Method: Create a Polished Video Slideshow with FocuSee
After testing multiple tools, FocuSee stands out as the best solution for quickly producing a professional-looking slideshow—not by traditional editing, but by recording each photo on your screen and automatically applying intelligent effects. As a screen recording–first tool, FocuSee dramatically cuts down post-production time compared with standard video editors.
Marketing Video Production – FocuSee
FocuSee solves the most common user challenges effortlessly:
You’re Not a Video Editor
Instead of manually setting animations, FocuSee simply records your photos as you display them on screen. It then automatically adds smart pan-and-zoom motions, smooth transitions, cursor styles, and subtle movement to make every photo feel dynamic—without touching a timeline.
Edit Promo Videos
You Want a Clean, Modern Look (Not a Cheesy Slideshow)
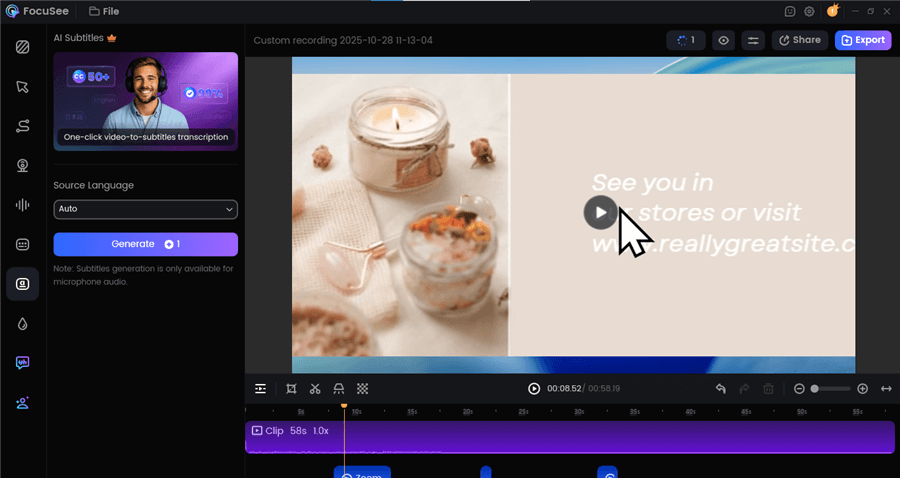
FocuSee applies tasteful animations, consistent framing, and minimal, modern cursor effects. With AI-powered refinement, it removes awkward pauses, trims silent gaps, and keeps the recording feeling smooth and intentional.
You Have Vertical Photos or Mixed Sizes
Since FocuSee is capturing your real screen layout, it automatically preserves the visual hierarchy. Vertical or mixed-size photos display naturally while the tool enhances the background with elegant blur fills—no harsh black bars.
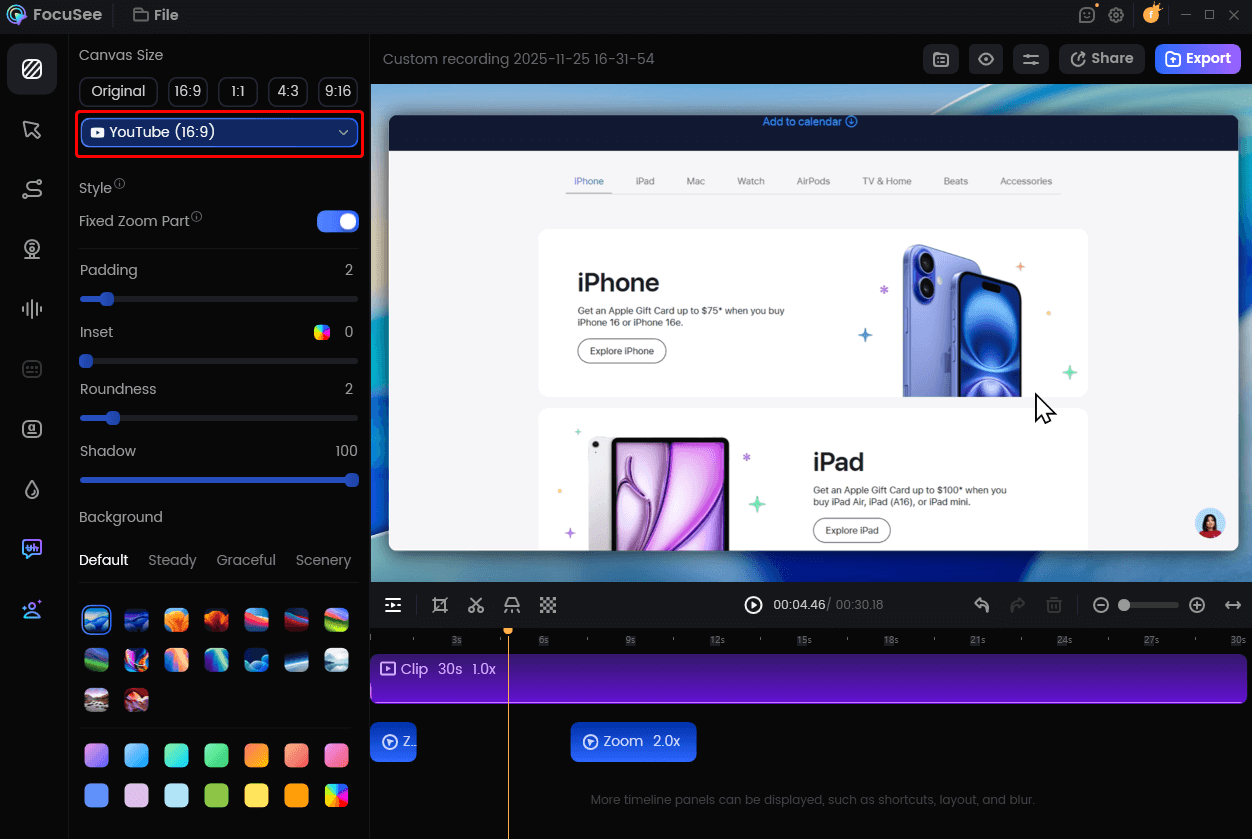
Change Video Size for YouTube
FocuSee is designed for users who want a high-quality slideshow with minimal editing. By combining screen recording, smart motion effects, cursor enhancements, and AI auto-editing, it turns a multi-hour editing task into a fast, reliable, 1080p export in minutes—perfect for events, presentations, and last-minute deadlines.
How to Make a Video Slideshow for Free on Windows and Mac
If you prefer to use the software already on your computer, both Windows and macOS offer capable built-in applications. These are functional options if you have time for a more manual process.
Make a video slideshow on Windows 11 with Clipchamp
On Windows 11, the built-in Photos app now uses Clipchamp for video projects. It’s more powerful than the old Photos Video Editor and is our recommended free tool for Windows users.
Step 1. Open Clipchamp (search for it in the Start Menu).
Clipchamp Interface
Step 2. Create a new video and import your “Finals” folder of photos.
Step 3. Drag your photos from the media library onto the timeline at the bottom.
Step 4. To set the timing, you must click on each photo in the timeline and drag its edges to shorten or lengthen it. To apply the same duration to all photos, select them all (Ctrl+A), right-click, and adjust the duration.
Step 5. Add music by importing your own audio file and dragging it onto the timeline. You may need to trim the music or adjust photo durations manually to make them match.
Step 6. Select Export and choose 1080p to save your project as an MP4 file.
Make a video slideshow on Mac
Mac users can create a simple slideshow directly in the Photos app or use iMovie for more control. The Photos app method is the fastest.
Step 1. Open the Photos app on your Mac.
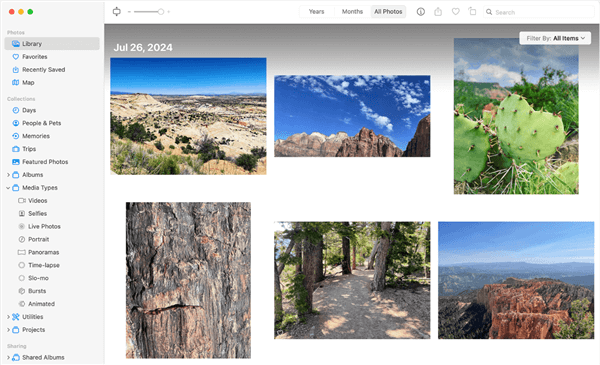
macOS Photos App
Step 2. Select all the photos you want to include in your project.
Step 3. Go to File > Create > Slideshow.
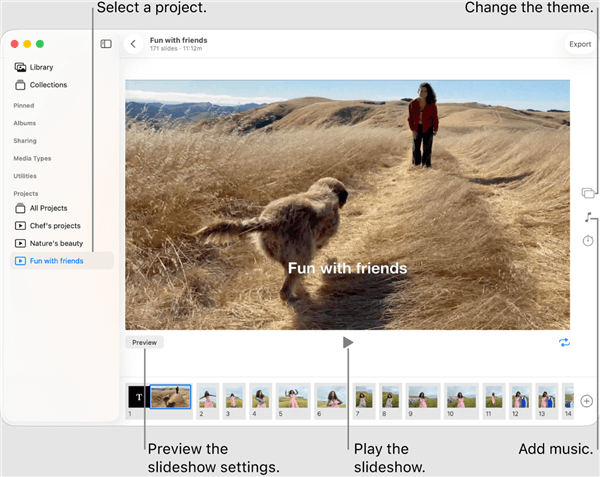
Make a Video Slideshow on Mac
Step 4. In the slideshow project window, you can choose a theme, add music from your library, and adjust the timing settings.
Step 5. The options for custom transitions and text overlays are limited here, but they are clean and easy to apply.
Step 6. Click the Export button in the top-right corner to save the slideshow as a video file.
Creative Tips for a Wedding, Memorial, or Birthday Slideshow
A great slideshow tells a story. Tailoring the structure and tone to the specific event is key to creating a tasteful and impactful presentation.
Wedding Photo Video Slideshow
- Story Arc: Tell the couple’s story. Show photos of each person growing up, then the moment they met, followed by photos of their journey together. End with an engagement photo or a title card with their wedding date.
- Pacing: Keep the pace romantic and celebratory. Use slower crossfade effects and a 4–5 second slide duration.
- Music: Choose instrumental music or songs meaningful to the couple.
Memorial Tribute Video
- Story Arc: A chronological approach is often best for a memorial tribute video. Start with early photos and move through major life milestones to celebrate the person’s life with dignity.
- Pacing: Slow and reflective. Use gentle, slow transitions and a longer duration per photo (5–7 seconds) to give guests time to connect with each memory.
- Music: Select calm, instrumental music. Avoid songs with distracting lyrics.
Birthday Video Slideshow
- Story Arc: For a milestone birthday, a chronological story works well. For an annual birthday, a ‘highlight reel’ of the past year is fun and lighthearted.
- Pacing: The pace should be energetic. Use quicker transitions and a shorter duration per photo (2–3 seconds) to match an upbeat song.
- Music: Choose the person’s favorite upbeat song or a celebratory tune.

How to Add Tasteful Text versus Cheesy Text to a Video Slideshow
Final Check: How to Export and Play Your Slideshow at the Event
After creating your slideshow, this final checklist will prevent nearly all potential technical problems at the venue.
- Export in a Universal Format. Choose the MP4 format. For resolution, select 1080p (1920×1080 pixels) to ensure high-definition quality. The correct aspect ratio for most screens is 16:9.
- Use a Reliable USB Drive. Save your final MP4 file onto a cleanly formatted USB flash drive. After copying the file, safely eject the drive to prevent file corruption.
- Test Before the Event. This is the most important step. Insert the USB drive into your own TV to confirm it works. Check that the video plays smoothly and the audio plays correctly.
- Have a Backup Plan. In addition to the USB drive, keep a copy of the video on a laptop. Bring the laptop and an HDMI cable to the venue. If the venue’s system has an issue, you can connect your laptop directly to the screen.
FAQs on How to Make a Video Slideshow
Can I use a popular song if I upload my video slideshow to YouTube?
If you share your slideshow publicly on YouTube, copyrighted music can lead to your video being muted or removed. For private events, this is not an issue. For public sharing, it is safest to use royalty-free tracks.
How can I mix vertical and horizontal photos without it looking weird?
Most free tools place vertical photos in the center of the frame, creating black bars on the sides. Dedicated slideshow makers often provide an option to fill that space with a blurred, stretched version of the photo, which looks much more professional.
How do I add text that older relatives can read?
When adding title cards and captions, use a simple, bold font and ensure high contrast between the text and the background. Place text in a less-detailed area of the photo, like the sky. Adding a semi-transparent dark box behind white text is the best way to guarantee readability.
What should I do if my video file is too large to email?
A 1080p video file is usually too large for email. The best way to share it is by using a cloud storage service like Google Drive or Dropbox. You can upload the file and share a private link with family and friends.
My slideshow plays but there’s no sound. What can I do?
First, check the volume on the playback device (TV or computer). Second, re-export the video, ensuring the audio track is included and not muted in your project’s timeline. Finally, test the new file on a different device to confirm the audio is embedded correctly in the MP4 file.
Conclusion
Creating a moving and reliable video slide show doesn’t have to be complicated. By preparing your photos first and planning your timing, you’ve already solved the biggest challenges. From there, you can choose the tool that best fits your needs. If you want to create a professional-looking slideshow with confidence and save valuable time, a dedicated tool like FocuSee is an excellent investment. It empowers you to focus on the memories, not the software, and share your story with pride.