Minecraft, the beloved sandbox video game, has captivated millions of players worldwide with its limitless creativity and adventure. As a player, you should share your amazing creations, thrilling battles, or hilarious moments with others. Keeping a record of your Minecraft gameplay is a fantastic way to showcase your skills, entertain viewers, and connect with the vibrant gaming community on social media platforms. In this essay, we will explore various methods and tools for recording Minecraft gameplay on both PC and Mac, ensuring you can capture your epic adventures without compromising the game’s performance.
Table of Contents: hide
Record Minecraft on PC & Mac without Lagging
Part 1: Record Minecraft on PC & Mac without Lagging
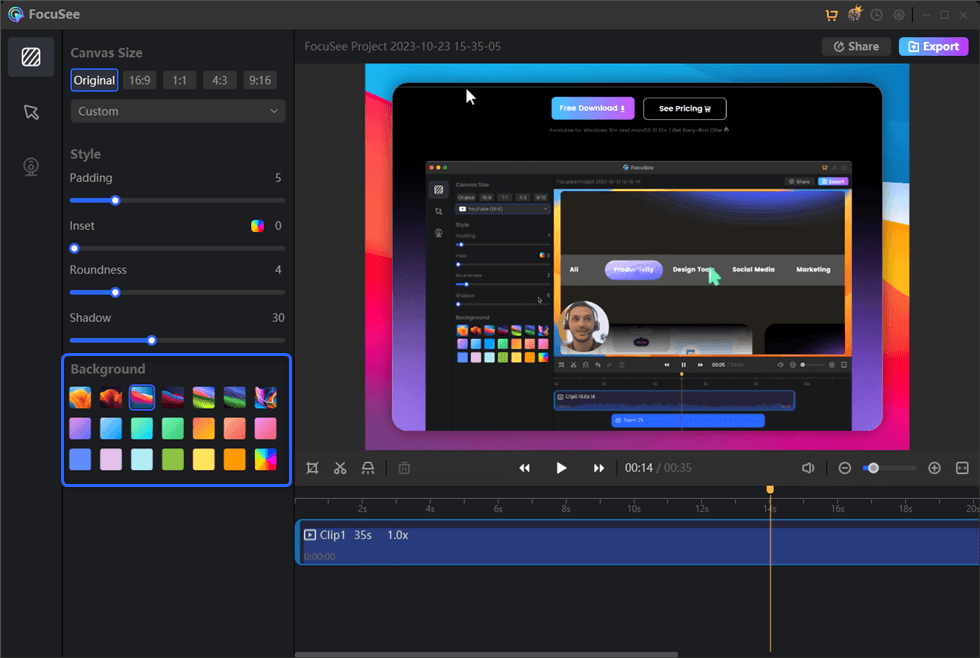
When recording Minecraft gameplay, one of the most recommended third-party programs is FocuSee. This powerful software is designed to provide a seamless and efficient recording experience, allowing you to capture your gaming moments in stunning quality without any lag.
FocuSee boasts impressive features that make it stand out from other recording tools. With its hardware acceleration capabilities, FocuSee ensures smooth and visually stunning gameplay footage even during extended sessions. Additionally, the program offers the ability to add motion blur, and embed webcam overlays, allowing you to personalize your recordings and connect with your audience on a more personal level. Additionally, FocuSee provides a range of video editing tools, allowing you to enhance and refine your recorded footage without additional software.
To start recording your Minecraft gameplay using FocuSee, follow these simple steps:
Step 1: Download and install the FocuSee program on your PC or Mac.
Step 2: To customize your experience, launch the program and navigate to the settings menu to choose your preferred settings.

Device Setup
Step 3: Once you have configured your settings, launch Minecraft and start playing.
Step 4: When you’re ready to begin recording, click on the FocuSee icon in your system tray and select “Start Recording.”
Step 5: Enjoy your Minecraft gameplay while FocuSee works in the background, capturing every moment.
Step 6: After recording, click on “Stop Recording,” and then You can perform some basic editing on the recorded video, such as trimming, cutting, and adjusting zoom effects.

Edit the Recording
Step 7: Once you are satisfied, please click the export button and select the desired resolution and frame rate to export your Minecraft video.
Record Minecraft for Free
For those who prefer a free option, the Xbox Game Bar, built into Windows 10 and later versions, offers a convenient way to record Minecraft gameplay without additional software. However, it’s important to note that the Xbox Game Bar has some limitations compared to third-party programs like FocuSee. It only works on Windows 10 and higher, has a limited recording time, and does not support customizing the recording area or volume.
To record Minecraft using the Xbox Game Bar, follow these steps:
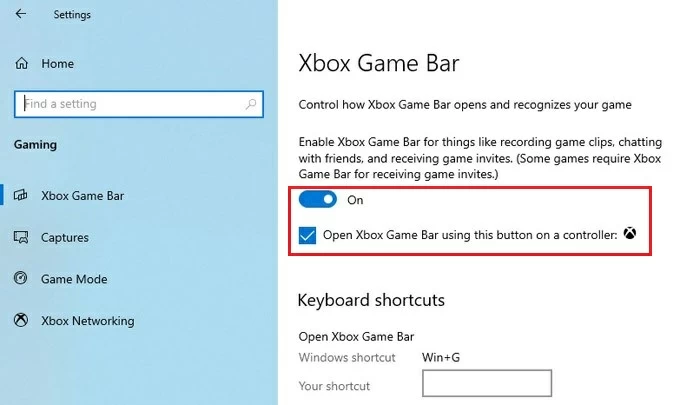
Step 1: Launch Minecraft and ensure the Xbox Game Bar is enabled in your Windows settings.

Open Xbox Game Bar
Step 2: Press the Windows key + G to open the Xbox Game Bar overlay.
Step 3: Click on the “Record” button or press Windows key + Alt + R to start recording.
Step 4: Play Minecraft as usual, and the Xbox Game Bar will record your gameplay in the background.
Step 5: To stop recording, press the Windows key + G again to open the Xbox Game Bar overlay and click on the “Stop” button.
Record Minecraft in OBS for YouTube
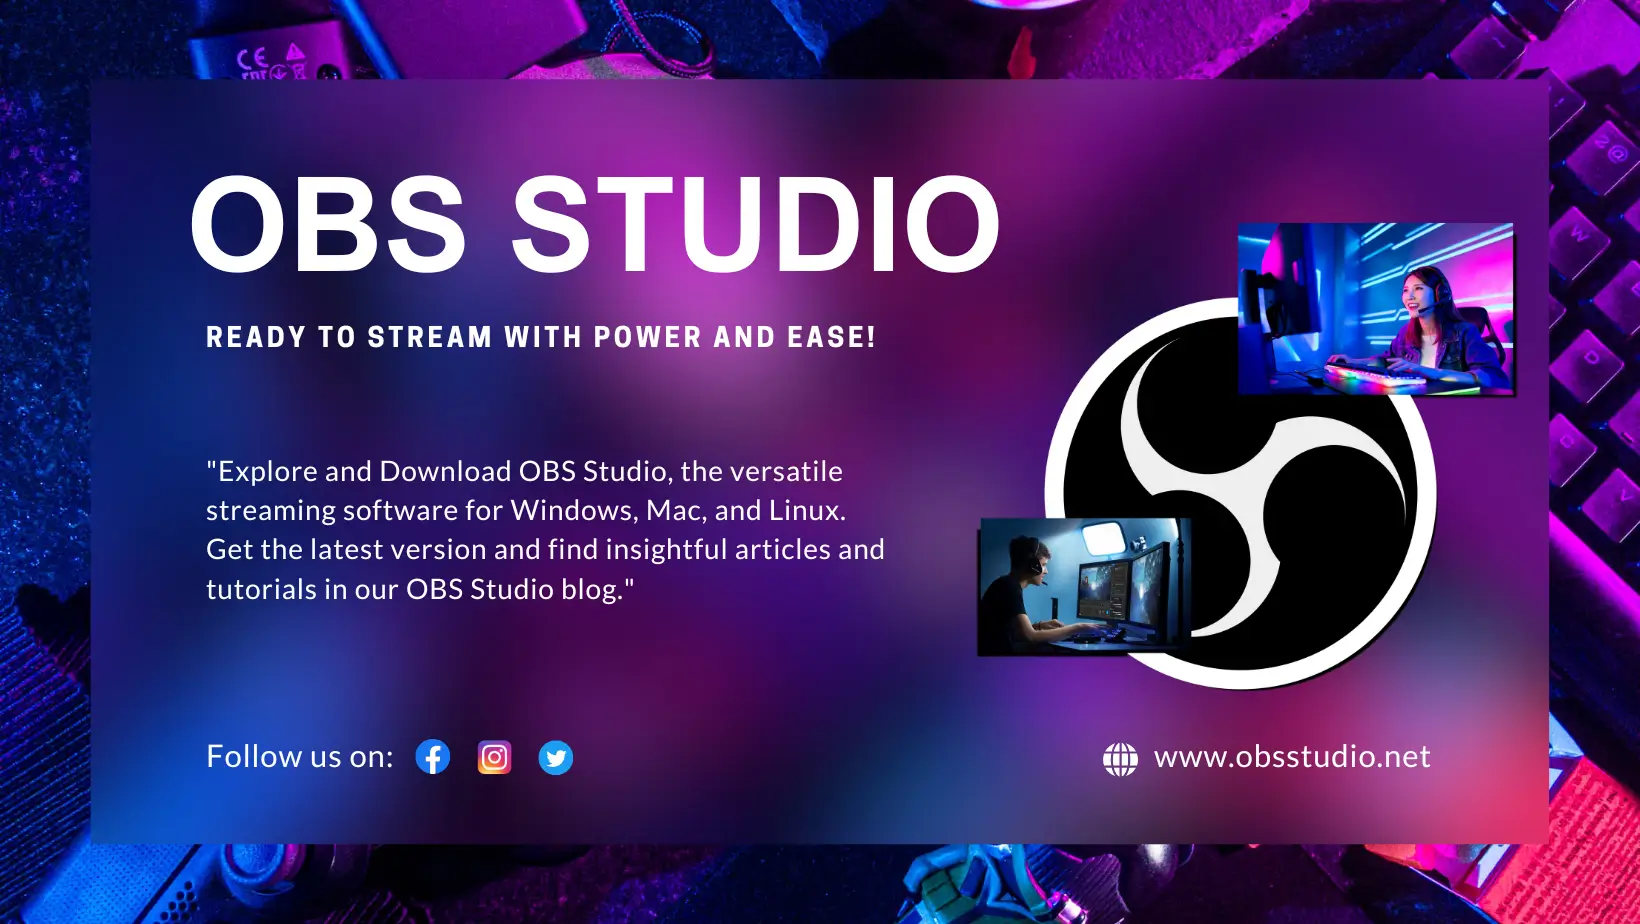
Open Broadcaster Software (OBS) is an excellent choice for recording Minecraft gameplay for those who aspire to become YouTubers or game hosts. OBS is a versatile and powerful open-source software that supports multi-platform live streaming and recording. It offers a wide range of customization options and features, making it suitable for both beginners and advanced users.
To record Minecraft using OBS, follow these steps:
Step 1: Download and install OBS on your PC or Mac.

Download OBS
Step 2: Launch OBS and create a new scene by clicking on the “+” button in the “Scenes” box.
Step 3: Add a new source to capture Minecraft by clicking on the “+” button in the “Sources” box and selecting “Game Capture.”
Step 4: Choose Minecraft from the list of available games and adjust the capture settings as needed.
Step 5: Configure your audio devices by clicking on the “Settings” button and navigating to the “Audio” tab. Ensure that the correct audio sources are selected for both desktop audio and microphone.
Step 6: Adjust the resolution and frame rate settings in OBS to match your Minecraft settings for optimal performance.
Step 7: Click the “Start Recording” button in OBS to capture your Minecraft gameplay.
Step 8: Play Minecraft as usual, and OBS will record your gameplay in the background.
Step 9: To stop recording, click on the “Stop Recording” button in OBS.
Frequently Asked Questions
1. How do I ensure the best quality when recording Minecraft?
To ensure the best quality when recording Minecraft, choose a reliable recording program like FocuSee, adjust your settings to match your desired output format and quality, and ensure that your computer meets the recommended system requirements for smooth gameplay and recording.
2. Can I edit my Minecraft recordings after capturing them?
Yes, most recording programs, including FocuSee and OBS, offer built-in video editing tools or allow you to export your recordings for editing in dedicated video editing software.
3. How can I share my Minecraft recordings on social media?
After recording and editing your Minecraft gameplay, you can upload your videos to popular social media platforms like YouTube, Twitter, or Instagram. Be sure to engage with your audience, use relevant tags and descriptions, and share your content across multiple platforms to maximize your reach.
Conclusion
Recording and sharing your Minecraft gameplay is an exciting way to showcase your creativity, skills, and passion for the game. Whether you choose to use a powerful third-party program like FocuSee, the built-in Xbox Game Bar, or the versatile OBS software, you have various options to capture your epic adventures without compromising the game’s performance. FocuSee stands out for its advanced features, stability, and ease of recording high-quality videos.
