For 3D animation, capturing the illusion of movement goes beyond simply animating objects. To truly breathe life into your creations, you need to mimic the subtle nuances of how we perceive motion in the real world. Enter motion blur, a visual effect that transforms jerky movements into smooth, cinematic experiences. In Blender, this powerful feature is readily available, allowing you to add a touch of realism and dynamism to your animations and renders. Whether it’s a speeding car, a whirling propeller, or a character’s swift turn, motion blur can elevate your visuals from static snapshots to captivating moments frozen in time.
Can You Add Motion Blur in Blender?
Yes, Blender offers robust options for adding motion blur to your animations and renders. You can achieve this through the “Motion Blur” settings found in the “Render Properties” panel. By enabling “Motion Blur” and adjusting parameters like “Shutter” and “Motion Samples,” you can control the intensity and quality of the blur, creating realistic or stylized motion effects for objects, cameras, and even deformation.
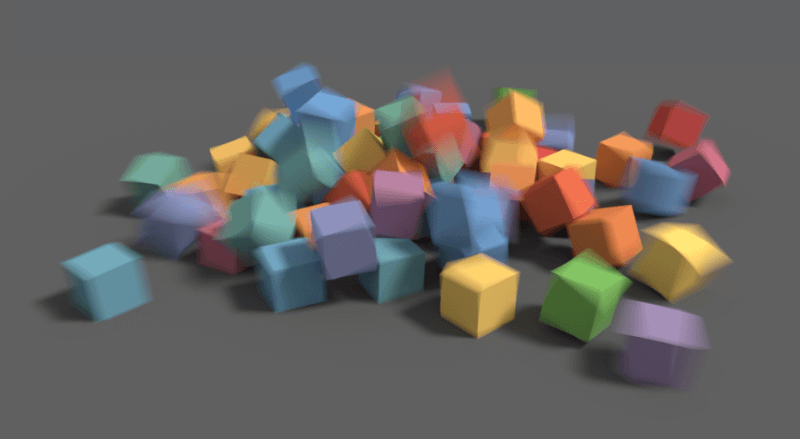
Motion Blur in Blender
How to Add a Motion Blur Effect in Blender?
Motion blur in Blender is a powerful visual effect that simulates the blurring of moving objects in a scene, mimicking how our eyes perceive fast motion in the real world. It adds a sense of realism and dynamism to animations and renders, making movements appear smoother and more natural.
Blender’s motion blur is achieved through settings in the “Render Properties” panel. By enabling “Motion Blur” and adjusting parameters like “Shutter” (which simulates camera shutter speed) and “Motion Samples” (which controls blur quality), you can fine-tune the intensity and smoothness of the blur. Blender applies motion blur to moving objects, camera movements, and even deformations, giving you comprehensive control over this cinematic effect.
Add motion blur in Blender
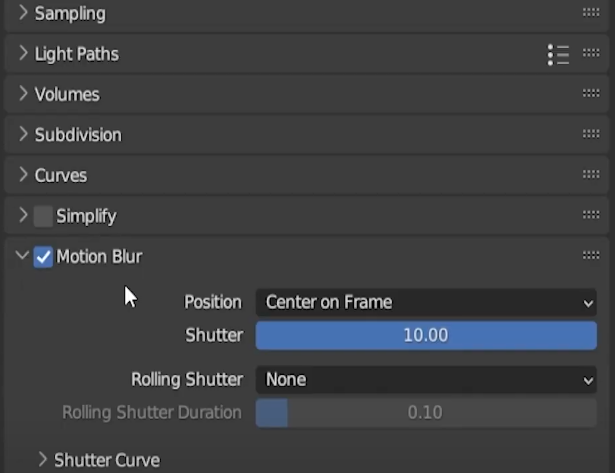
Add motion blur in Blender
Step 1. Go to the “Properties” editor and click the “Render Properties” tab. Under the “Sampling” section, you’ll find the “Motion Blur” checkbox. Enable it.
Step 2. Adjust the shutter speed. The “Shutter” value controls the duration of the simulated camera shutter opening, affecting the blur intensity.
Step 3. Set motion samples. “Motion Samples” determines the quality of the motion blur – higher values produce smoother and more accurate blur but increase rendering time.
Step 4. Choose the standard or vector blur type. By default, motion blur is applied to objects moving in the scene. To add motion blur caused by camera movement, select the camera object and enable “Camera Blur” in the “Object Data Properties” tab.
Now, you can preview the motion blur effect in the viewport by enabling the “Motion Blur” option in the viewport shading settings.
Increase motion blur in Blender

Increase motion blur in Blender
Step 1. Go to Render Properties, where you should click the “Render Properties” tab.
Step 2. Check the “Motion Blur” box under the “Sampling” section.
Step 3. The “Shutter” setting controls blur intensity. Higher values = more blur. Start with 0.5 (half-second shutter) and increase as needed.
Step 4. For a smoother blur, you can choose to increase “Motion Samples.” Higher values improve quality but increase render time.
An Alternative Way to Add Motion Blur in Video
If you want to add motion blur in your screen recordings, you can also use FocuSee. As a professional screen recorder, FocuSee simplifies this process by offering 3 types of motion blur effects that can be automatically applied to your videos without the need for a camera or other professional software.
Motion Blur Effect of FocuSee
- Screen Zoom-in: This effect applies motion blur to the video frame when the screen is being zoomed in, enhancing the visual experience during moments of focus on specific details.
- Screen Moving: This effect applies motion blur to the video frame during camera movement, creating a smooth transition and a sense of fluid motion.
- Cursor Movement: This effect specifically applies motion blur to the mouse cursor during its movement across the screen, which can be particularly useful in tutorials or demonstrations where cursor movement is a key element.
Steps to Add Motion Blur in Video
Step 1. Free install FocuSee and open it on your computer. Choose a screen recording mode.

Choose the Custom Recording Mode
Step 2. Frame the recording region and hit the REC button to get started.
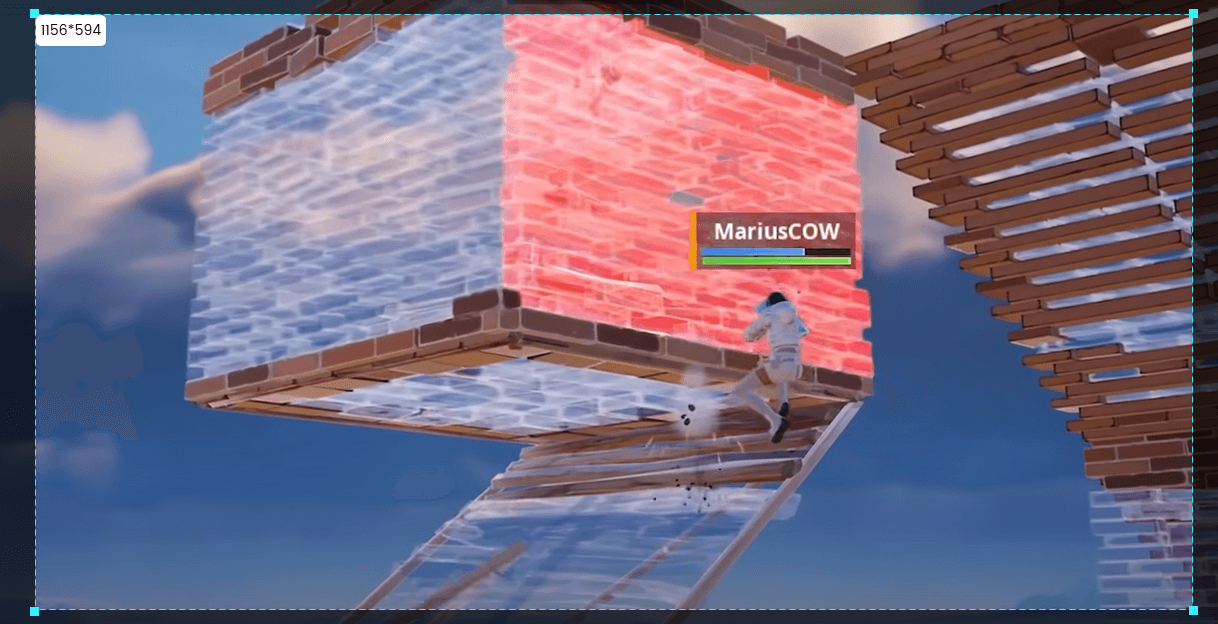
Frame the Game Playing Area to Record
Step 3. Stop recording and adjust the motion blur level in the video editing interface.
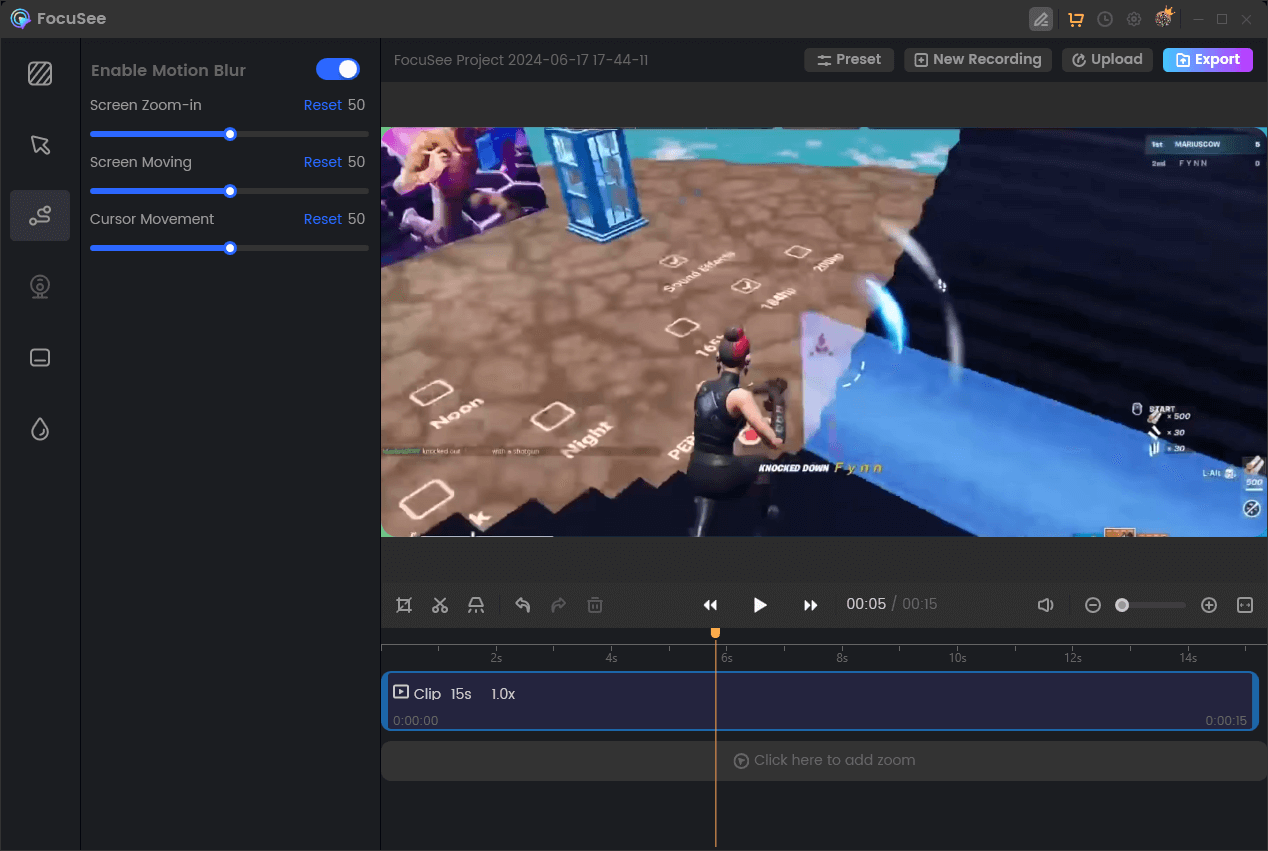
Edit Motion Blur in Game Recording
Tips for Effective Motion Blur
Here are some tips for using motion blur effectively:
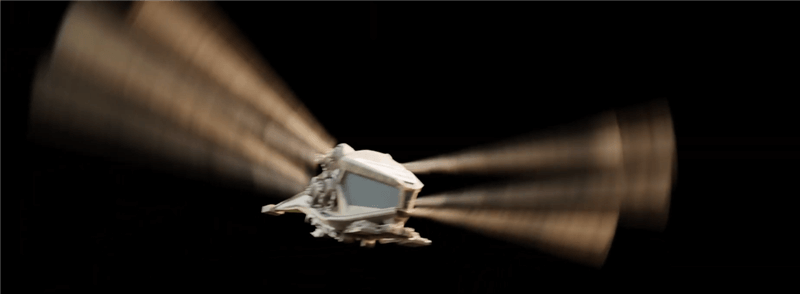
Tips for Effective Motion Blur
- Subtlety is Key: Start with small amounts of blur and increase gradually. Too much can look unrealistic.
- Match Shutter to Motion: Faster motion needs a higher “Shutter” value. Think about how a real camera would capture the movement.
- Vary Blur: Different objects can have different blur amounts for a more dynamic look.
- Preview Often: Check the blur in motion by scrubbing through the timeline or doing test renders.
- Focus on Context: Motion blur should enhance the scene, not distract from it.
Final Thought
Motion blur is a critical feature in 3D animation that helps to create a sense of fluidity and realism in moving objects and camera movements. In Blender, a popular open-source 3D creation suite, adding motion blur is straightforward and can significantly improve the quality of your renders.
By enabling motion blur in Blender, you can simulate the effect of fast-moving objects leaving a trail behind them, which is a common occurrence in real life when capturing high-speed motion with a camera. This effect is not only visually pleasing but also helps in conveying the speed and direction of movement more effectively.


